Mullite block production
For Dawson's calciner prototype. He designed the blocks, I figured out how to produce them.
The test campaign helped us choose the mullite mix. Now on to casting seven blocks in three different shapes, with compound negative spaces, in a formulation that stays fragile until it is fired. The largest would weigh nearly 100 lbs. The heavy block required special consideration, easy to break, hard to cast, needed to be flipped for demolding to dry fully.
Molds
XPS foam, carved on the CNC router. XPS worked well. Carving it was very messy.
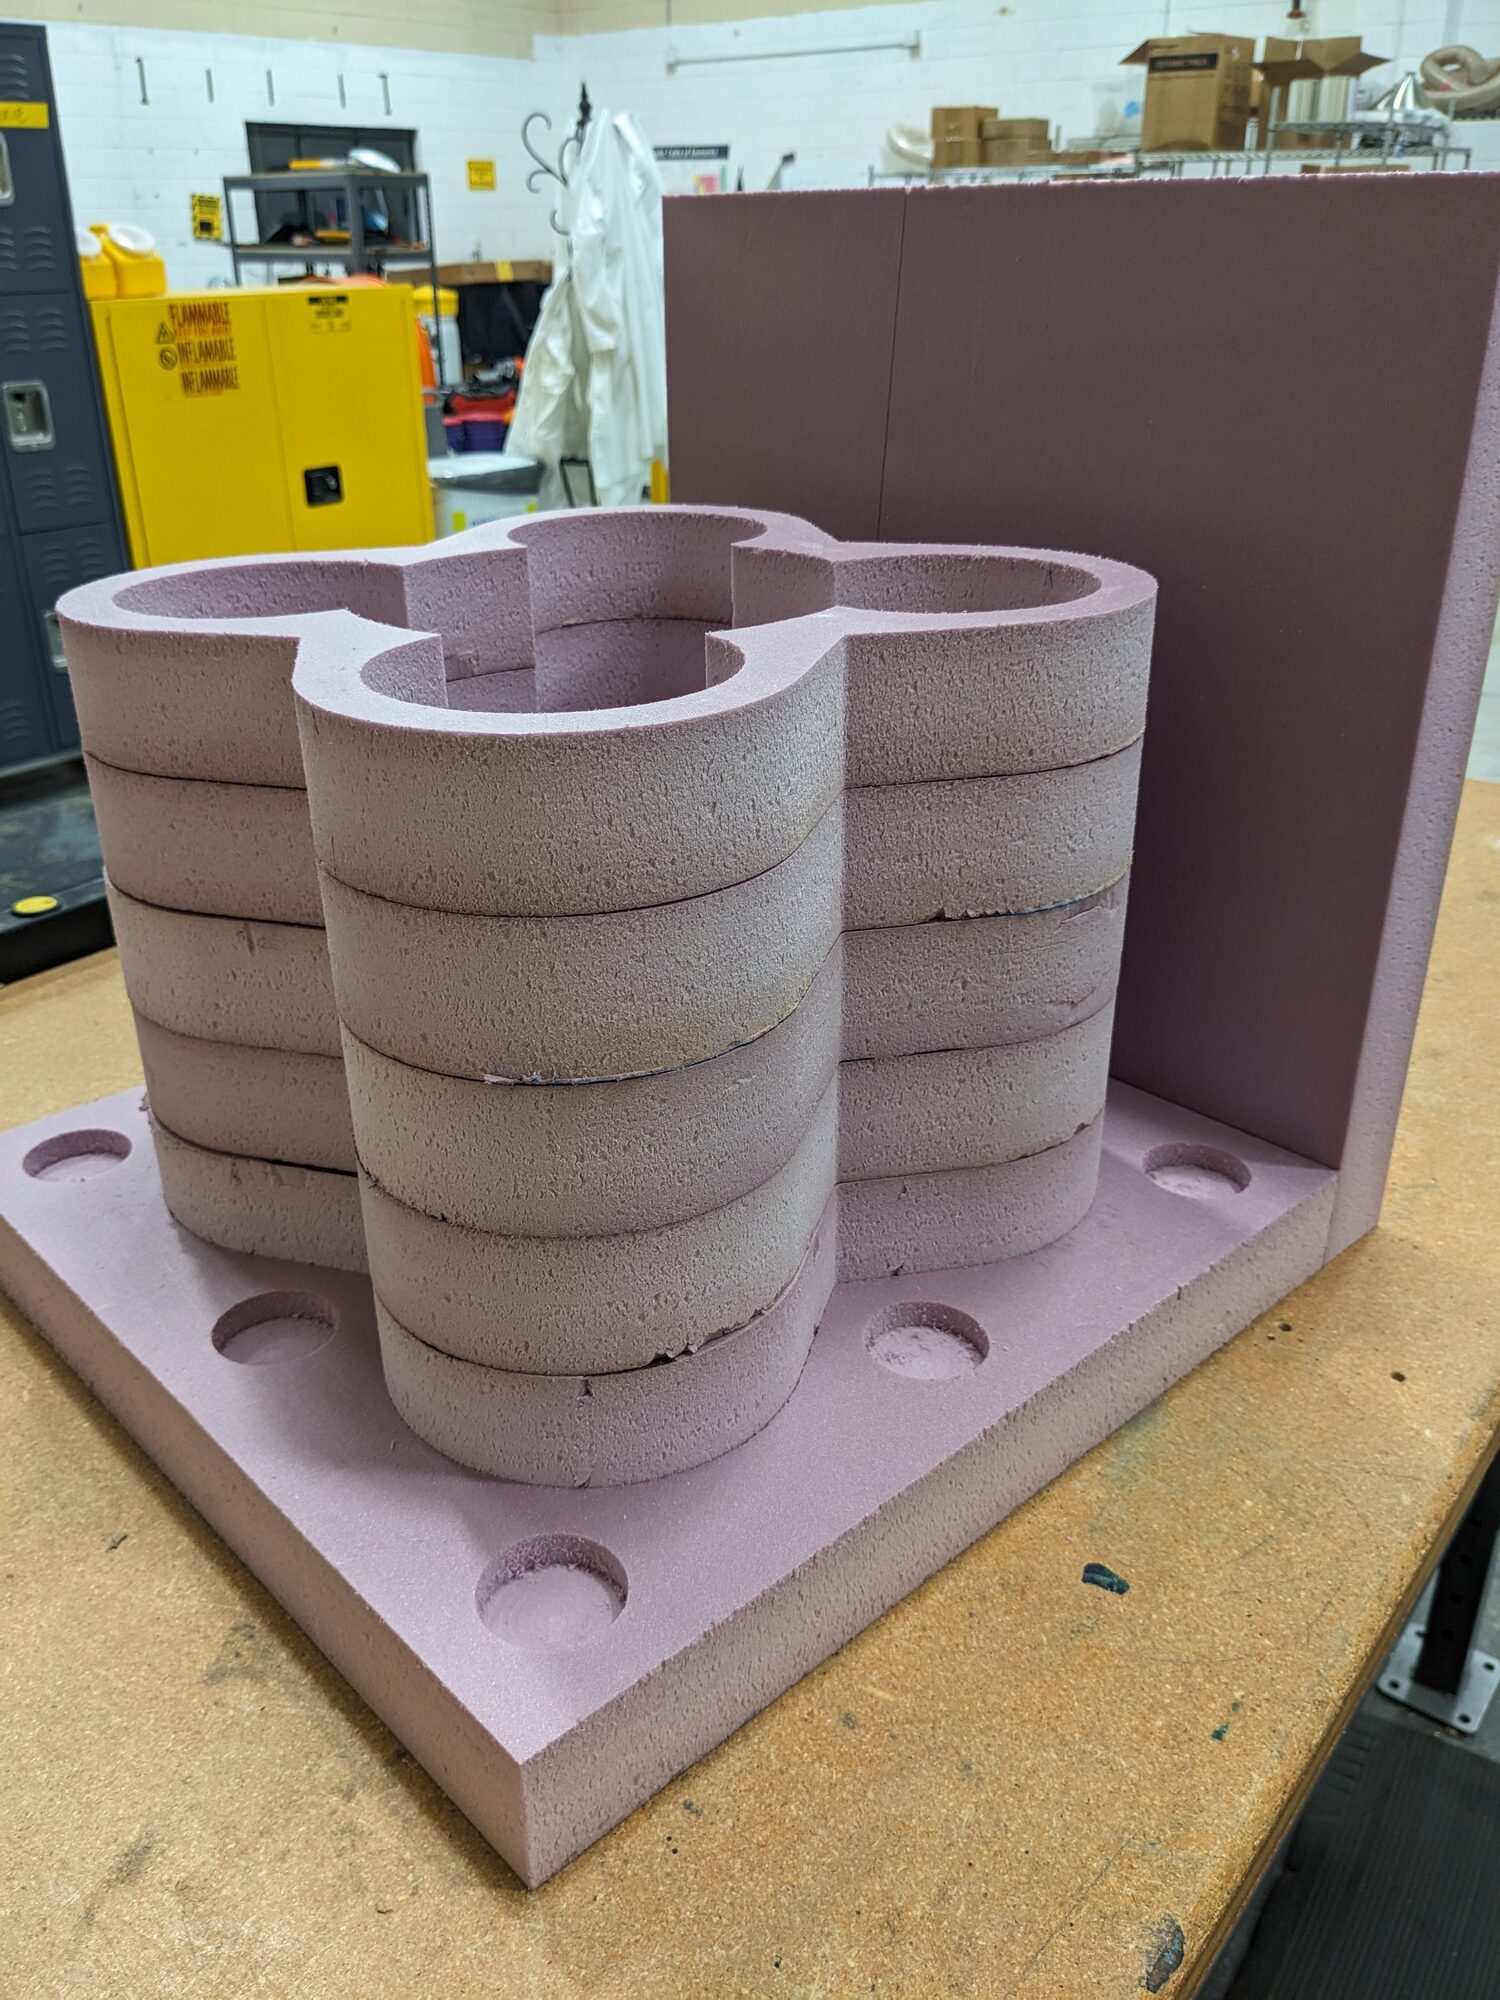
Core built up in layers on the base plate.
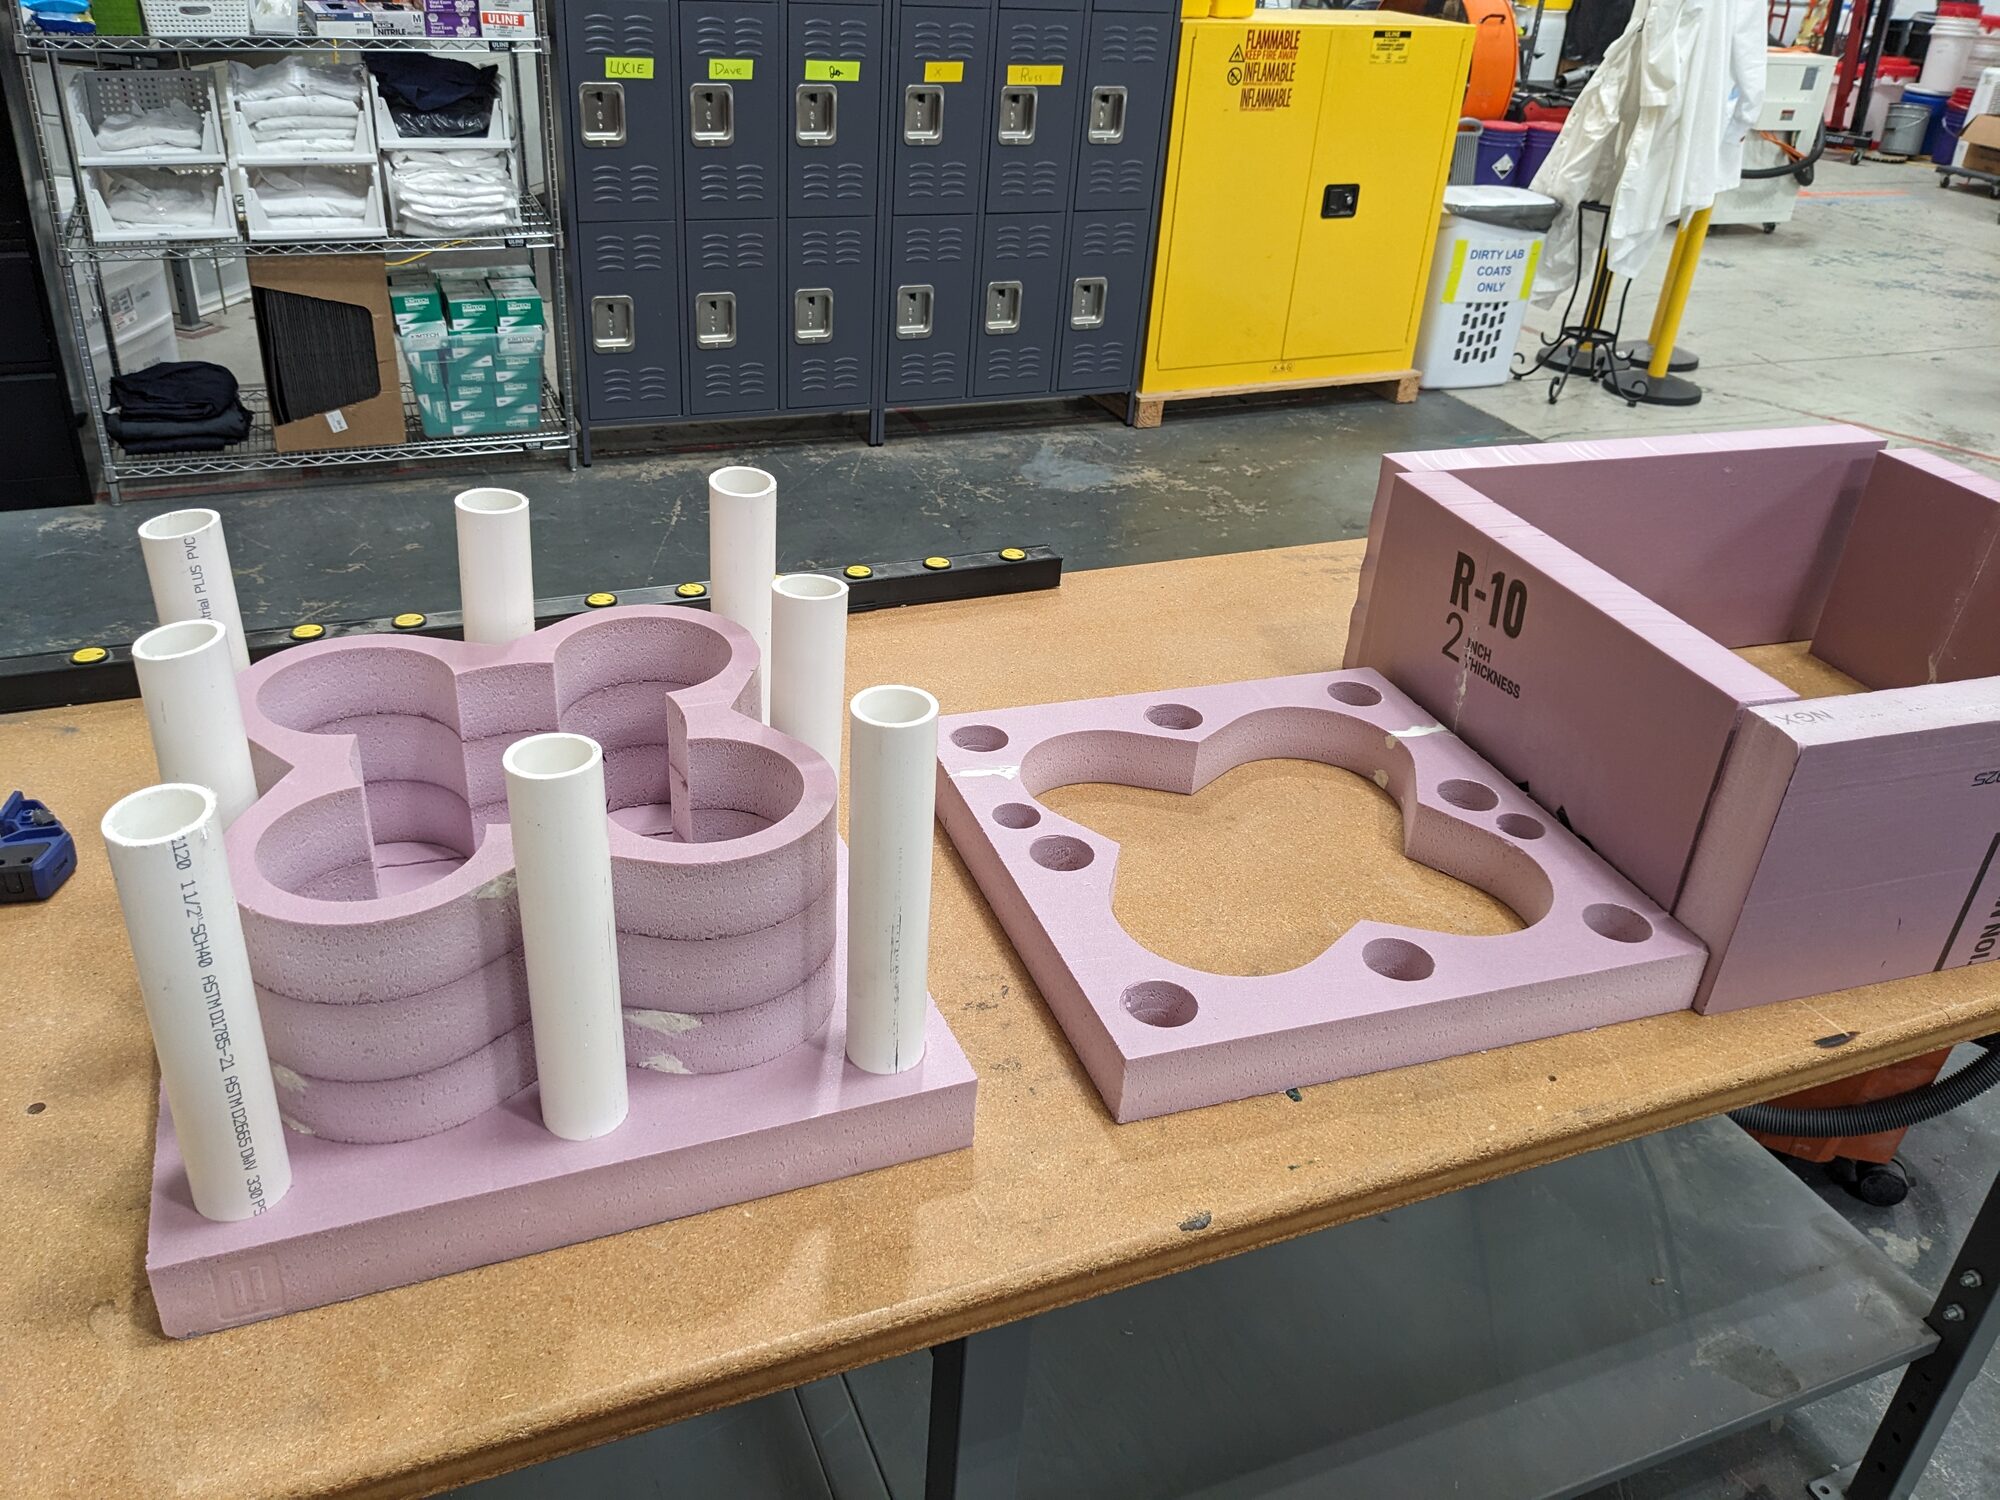
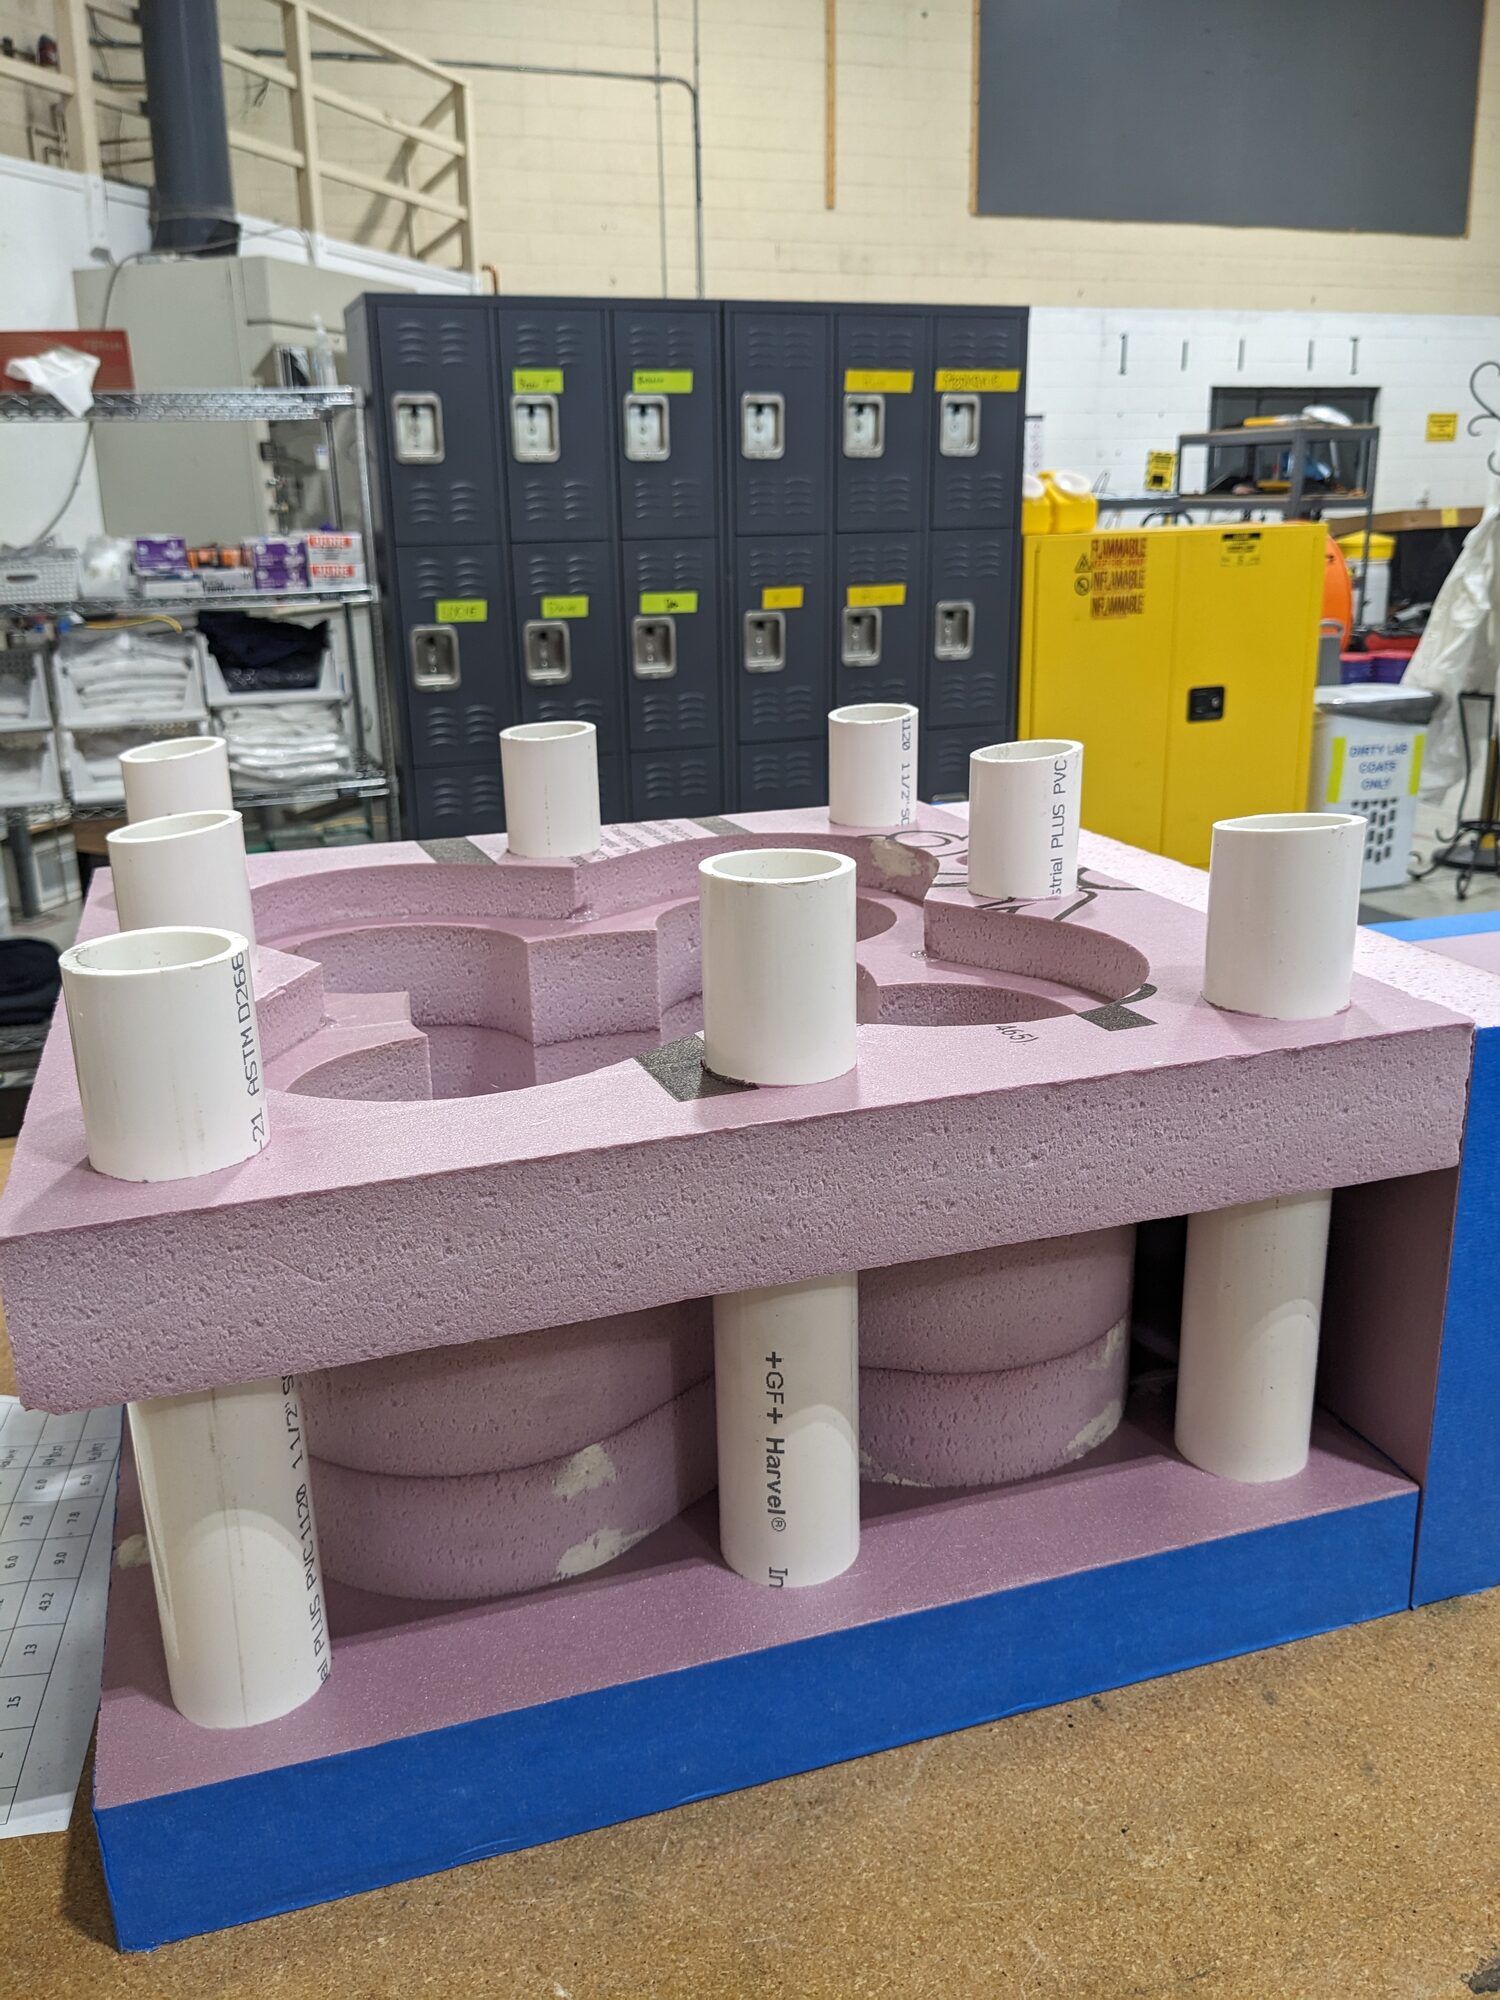
Left: PVC stubs set, lid cut and waiting. Right: closed up.
For the compound negative spaces we used 3D printed formers set into the mold. Dawson worked out gently tapered pins for stack alignment. They were difficult to demold, but patience won the day. The side ports that created the negative spaces were critical for access and sensors. Take note prototypers, -access- & -sensors- . Data and the ability to see and fix parts inside often saves time and frustration. These issues often come up after the object is built, planning ahead strategically can provide adaptability and information that can remove the necessity for a further prototype or time consuming alterations.
Vibration
It was hot outside, so I designed a vibrating platform and catch that could run indoors.
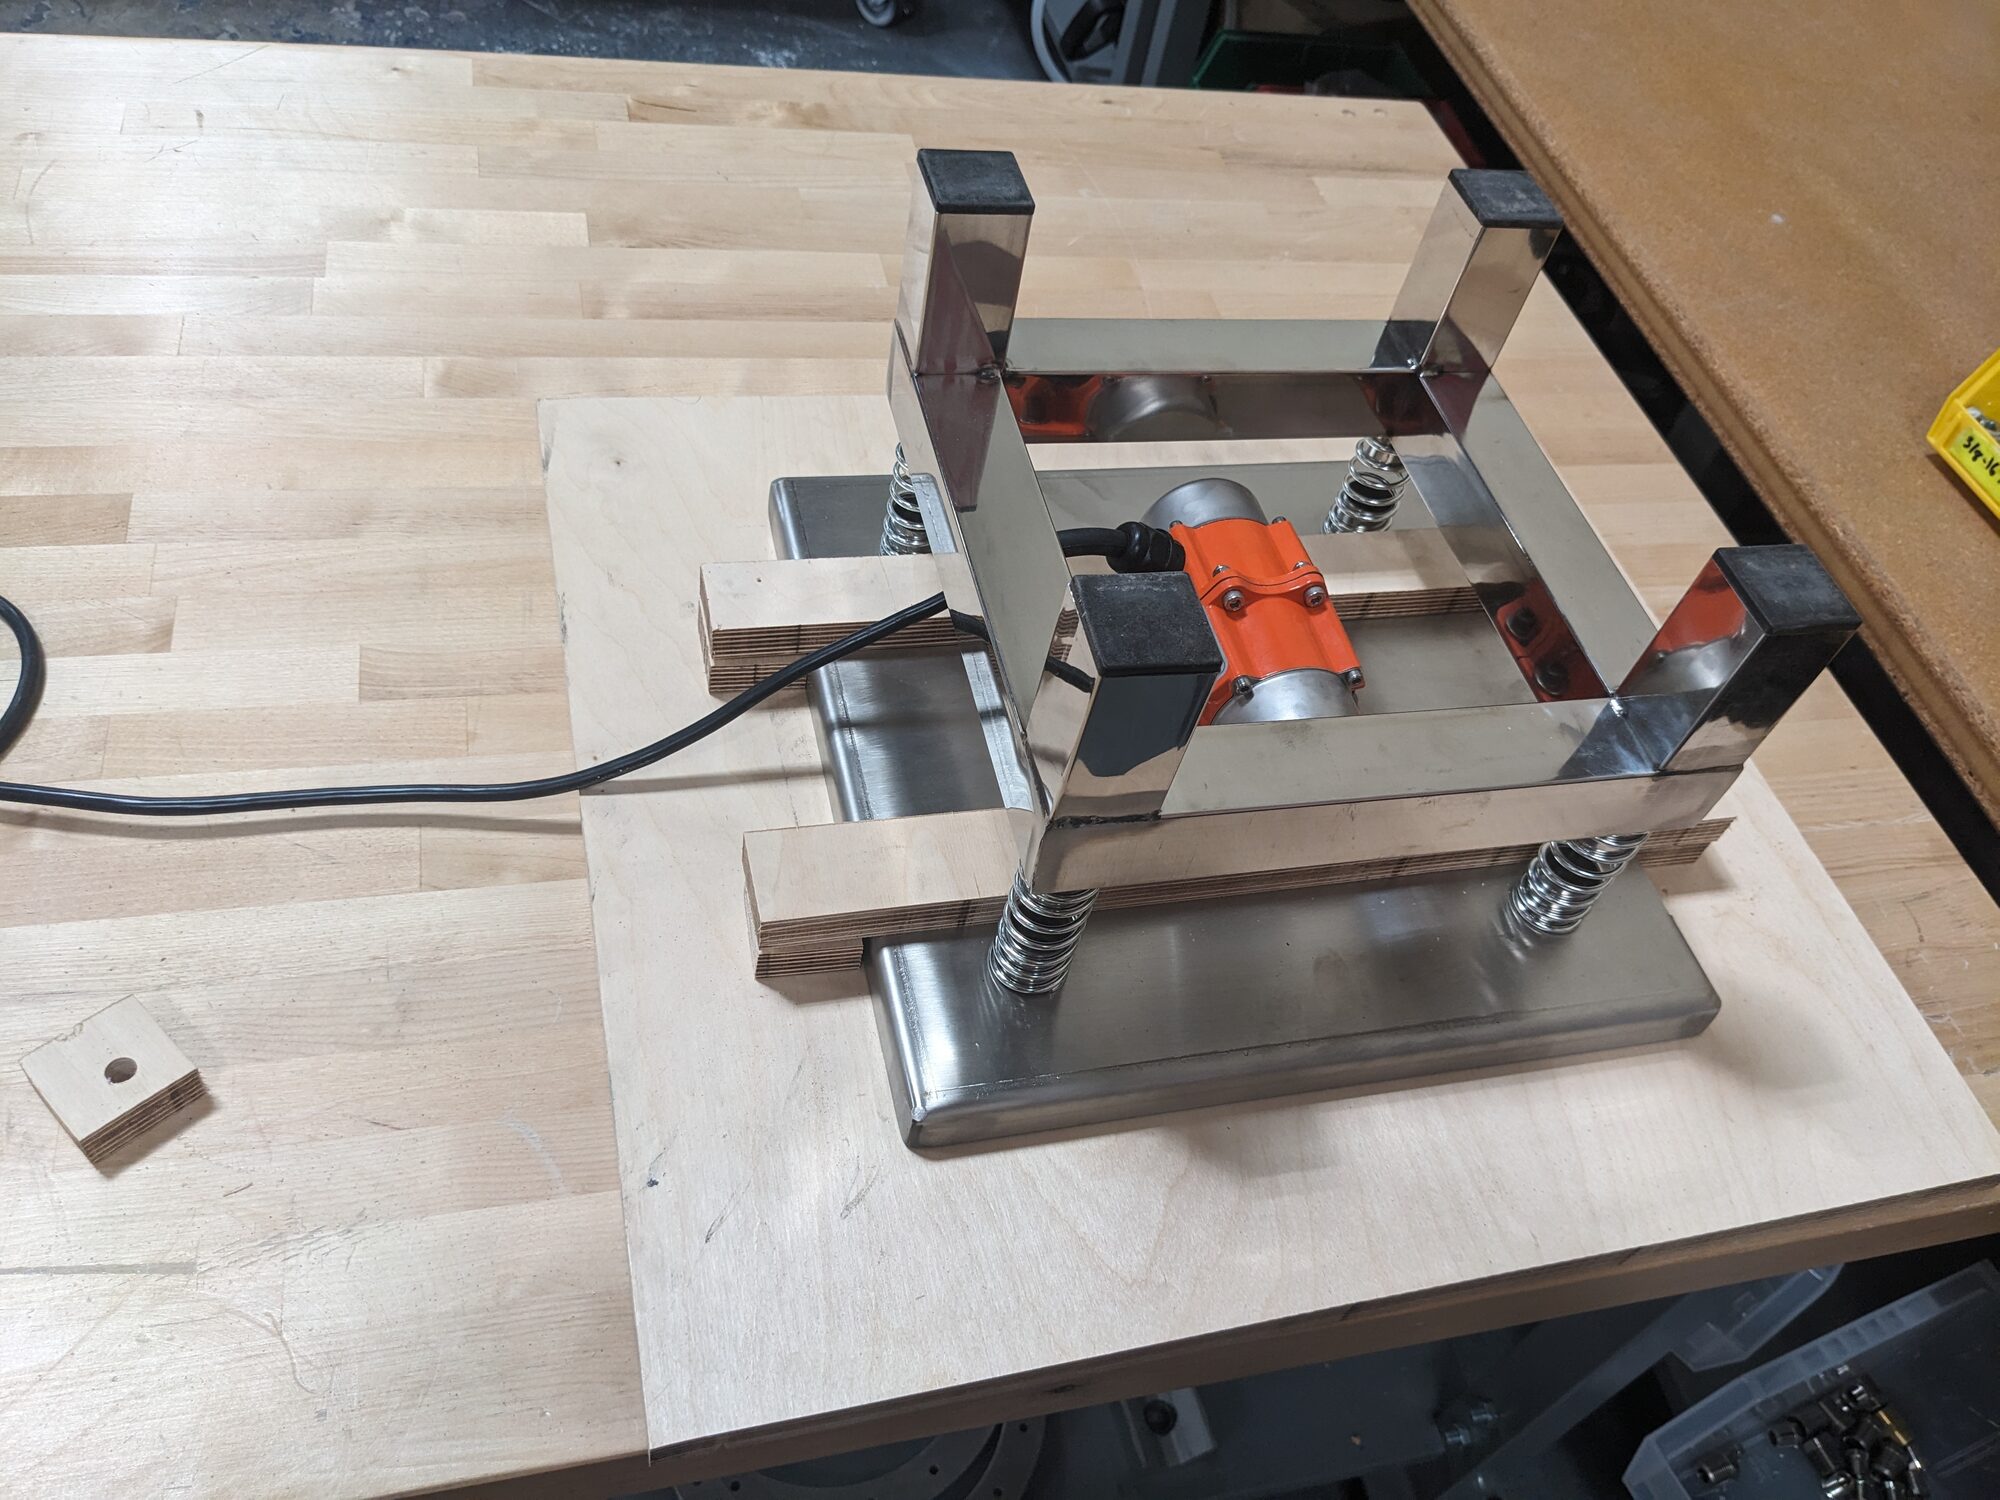
Spring-mounted deck, eccentric motor underneath, catch under all of it.
Casting
Clamped up with everything in the shop, poured over a spill grate. Sometimes work fast and make a mess. I did do it the harder way the first time, sigh.
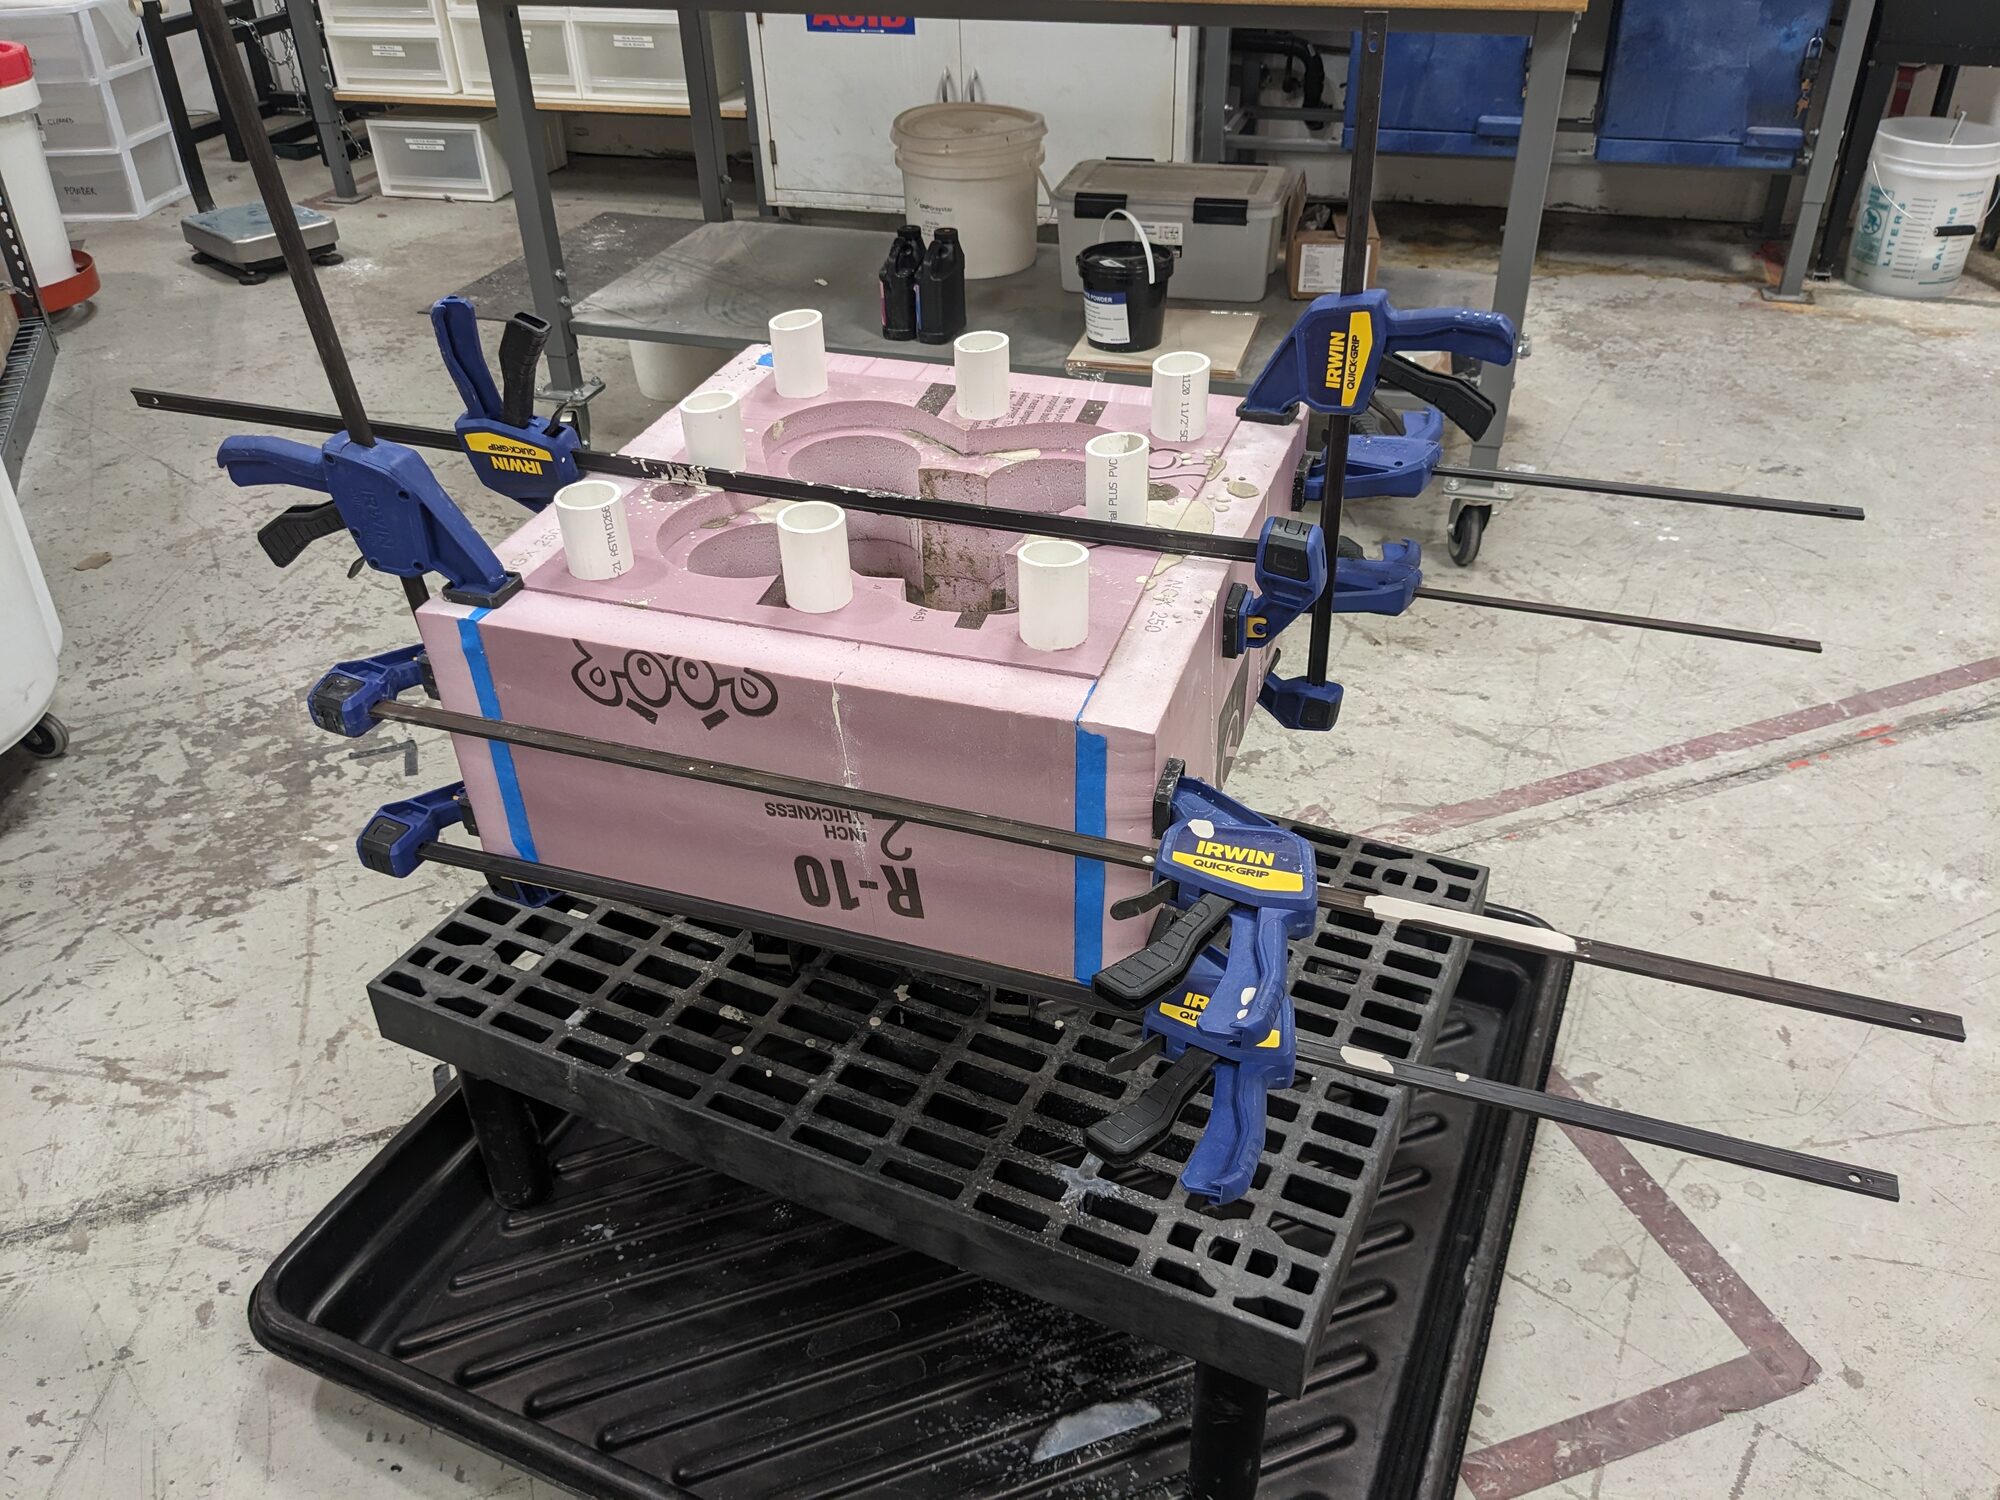
Clamped and banded.
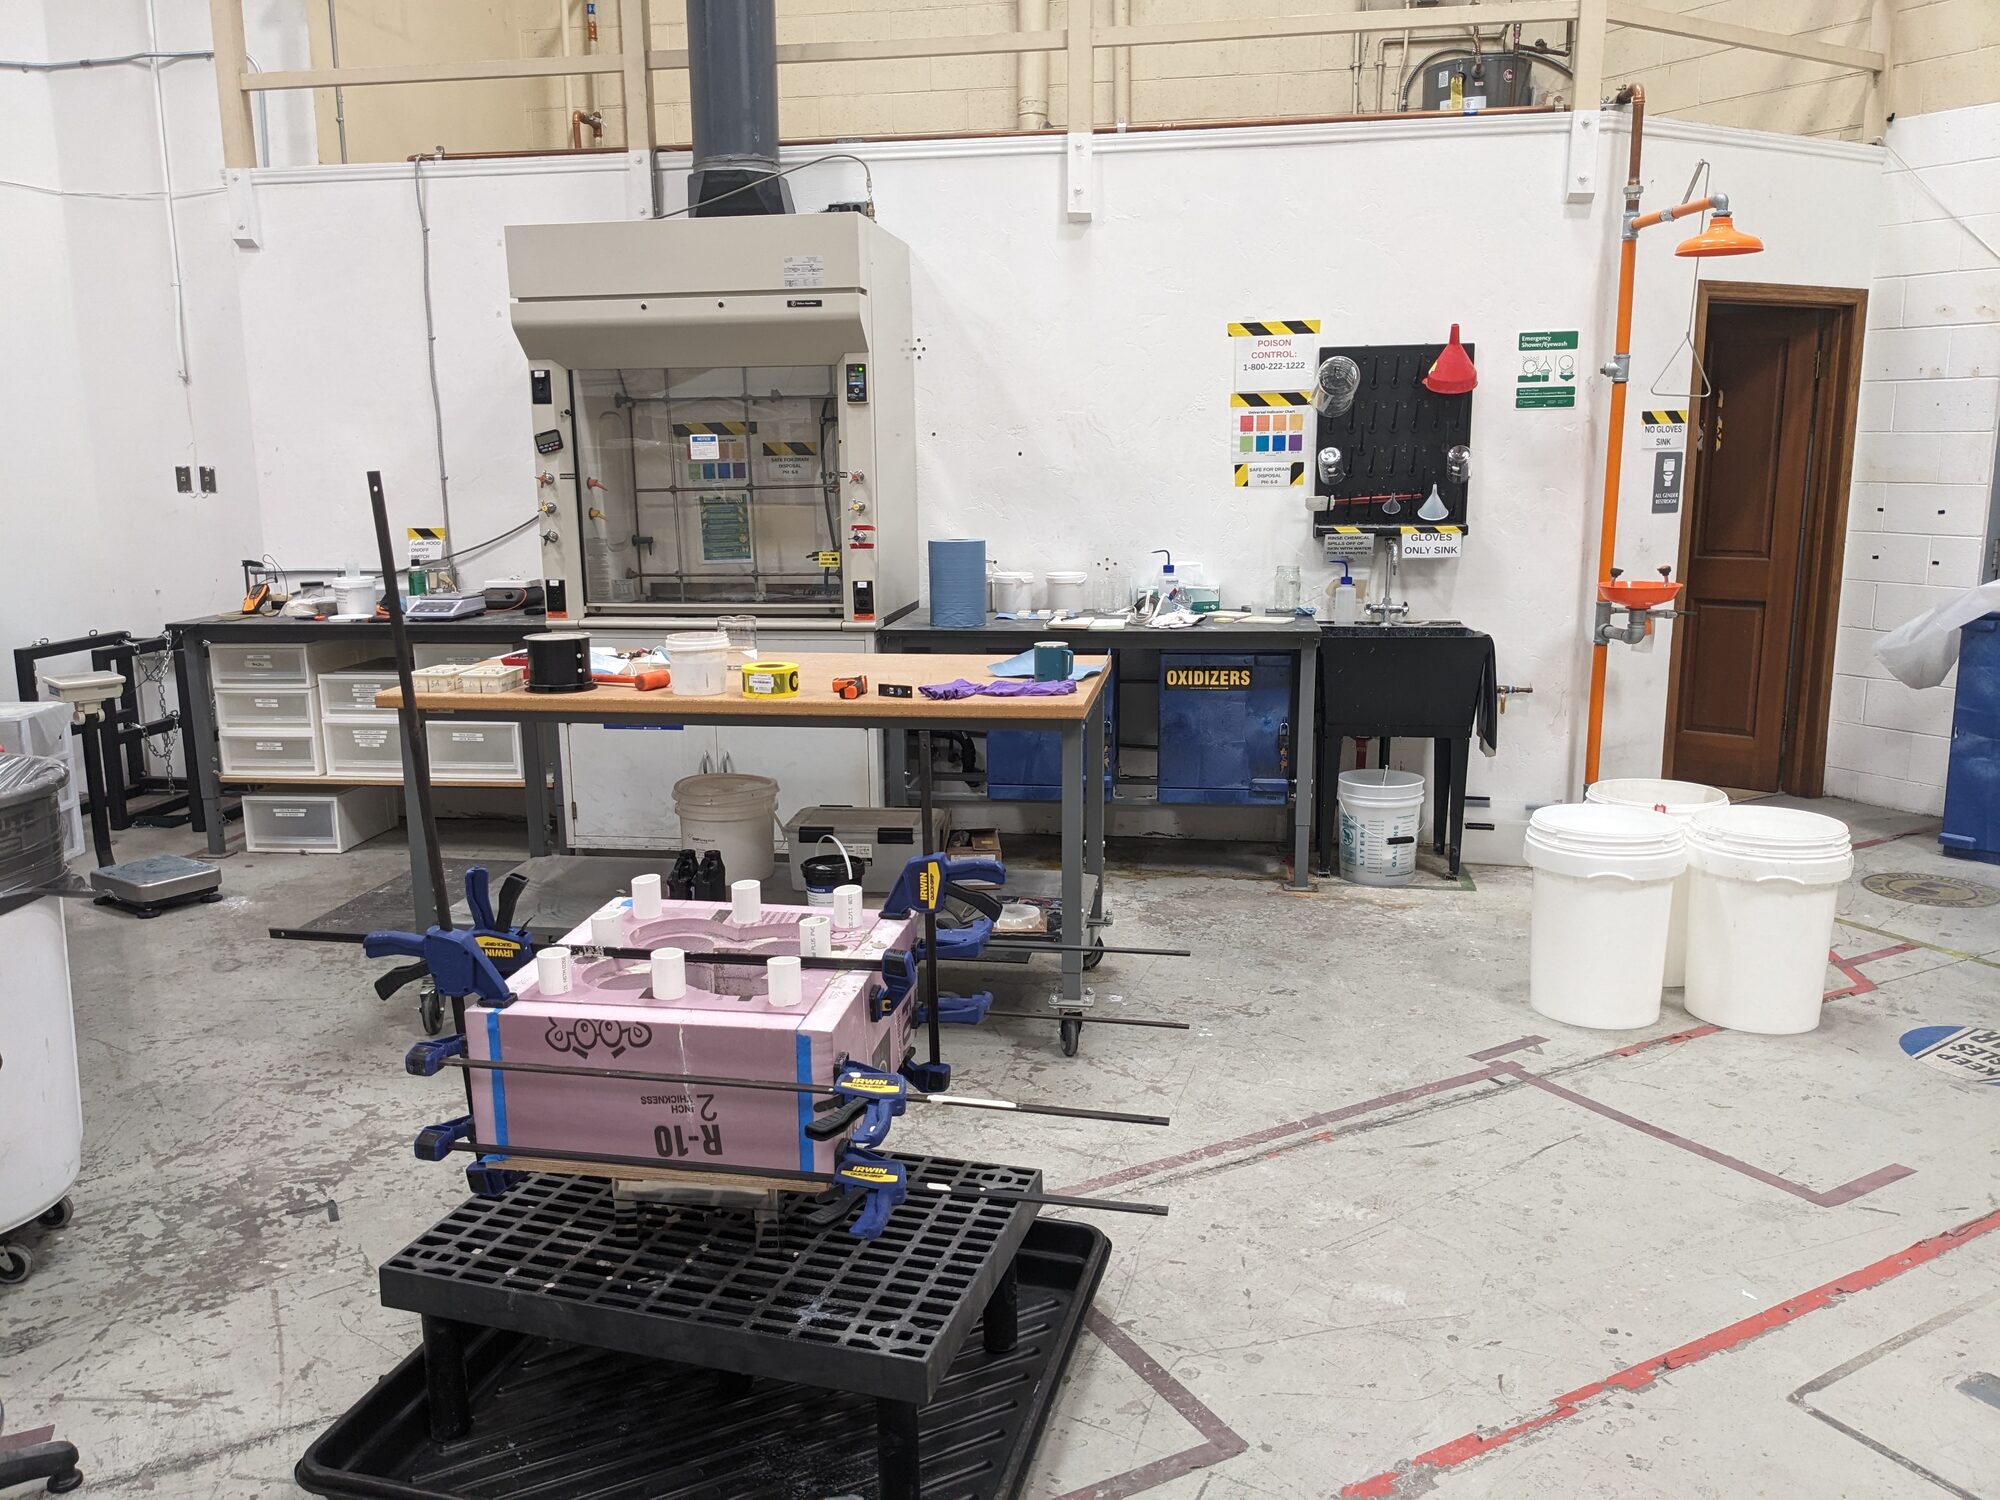
Same setup, room for scale.
Demolding
Early testing turned up predictably slow drying when partially demolded and corner fragility until pretty dry. With time pressures also predictably in place, getting the blocks all out whole and unchipped would save us critical time and labor. That's what I kept in mind when these parts of the process went more slowly than I would have preferred.
Printed formers were destructively decored using a heat gun, it was messy and slow but worked very well. ABS holds up better if you want to reuse a mold, and is worse if you plan to destroy it as it doesn't soften as much. This is also when I started to detect that 'Bamboo' brand PLA is harder to remove with the heat and peel off method.
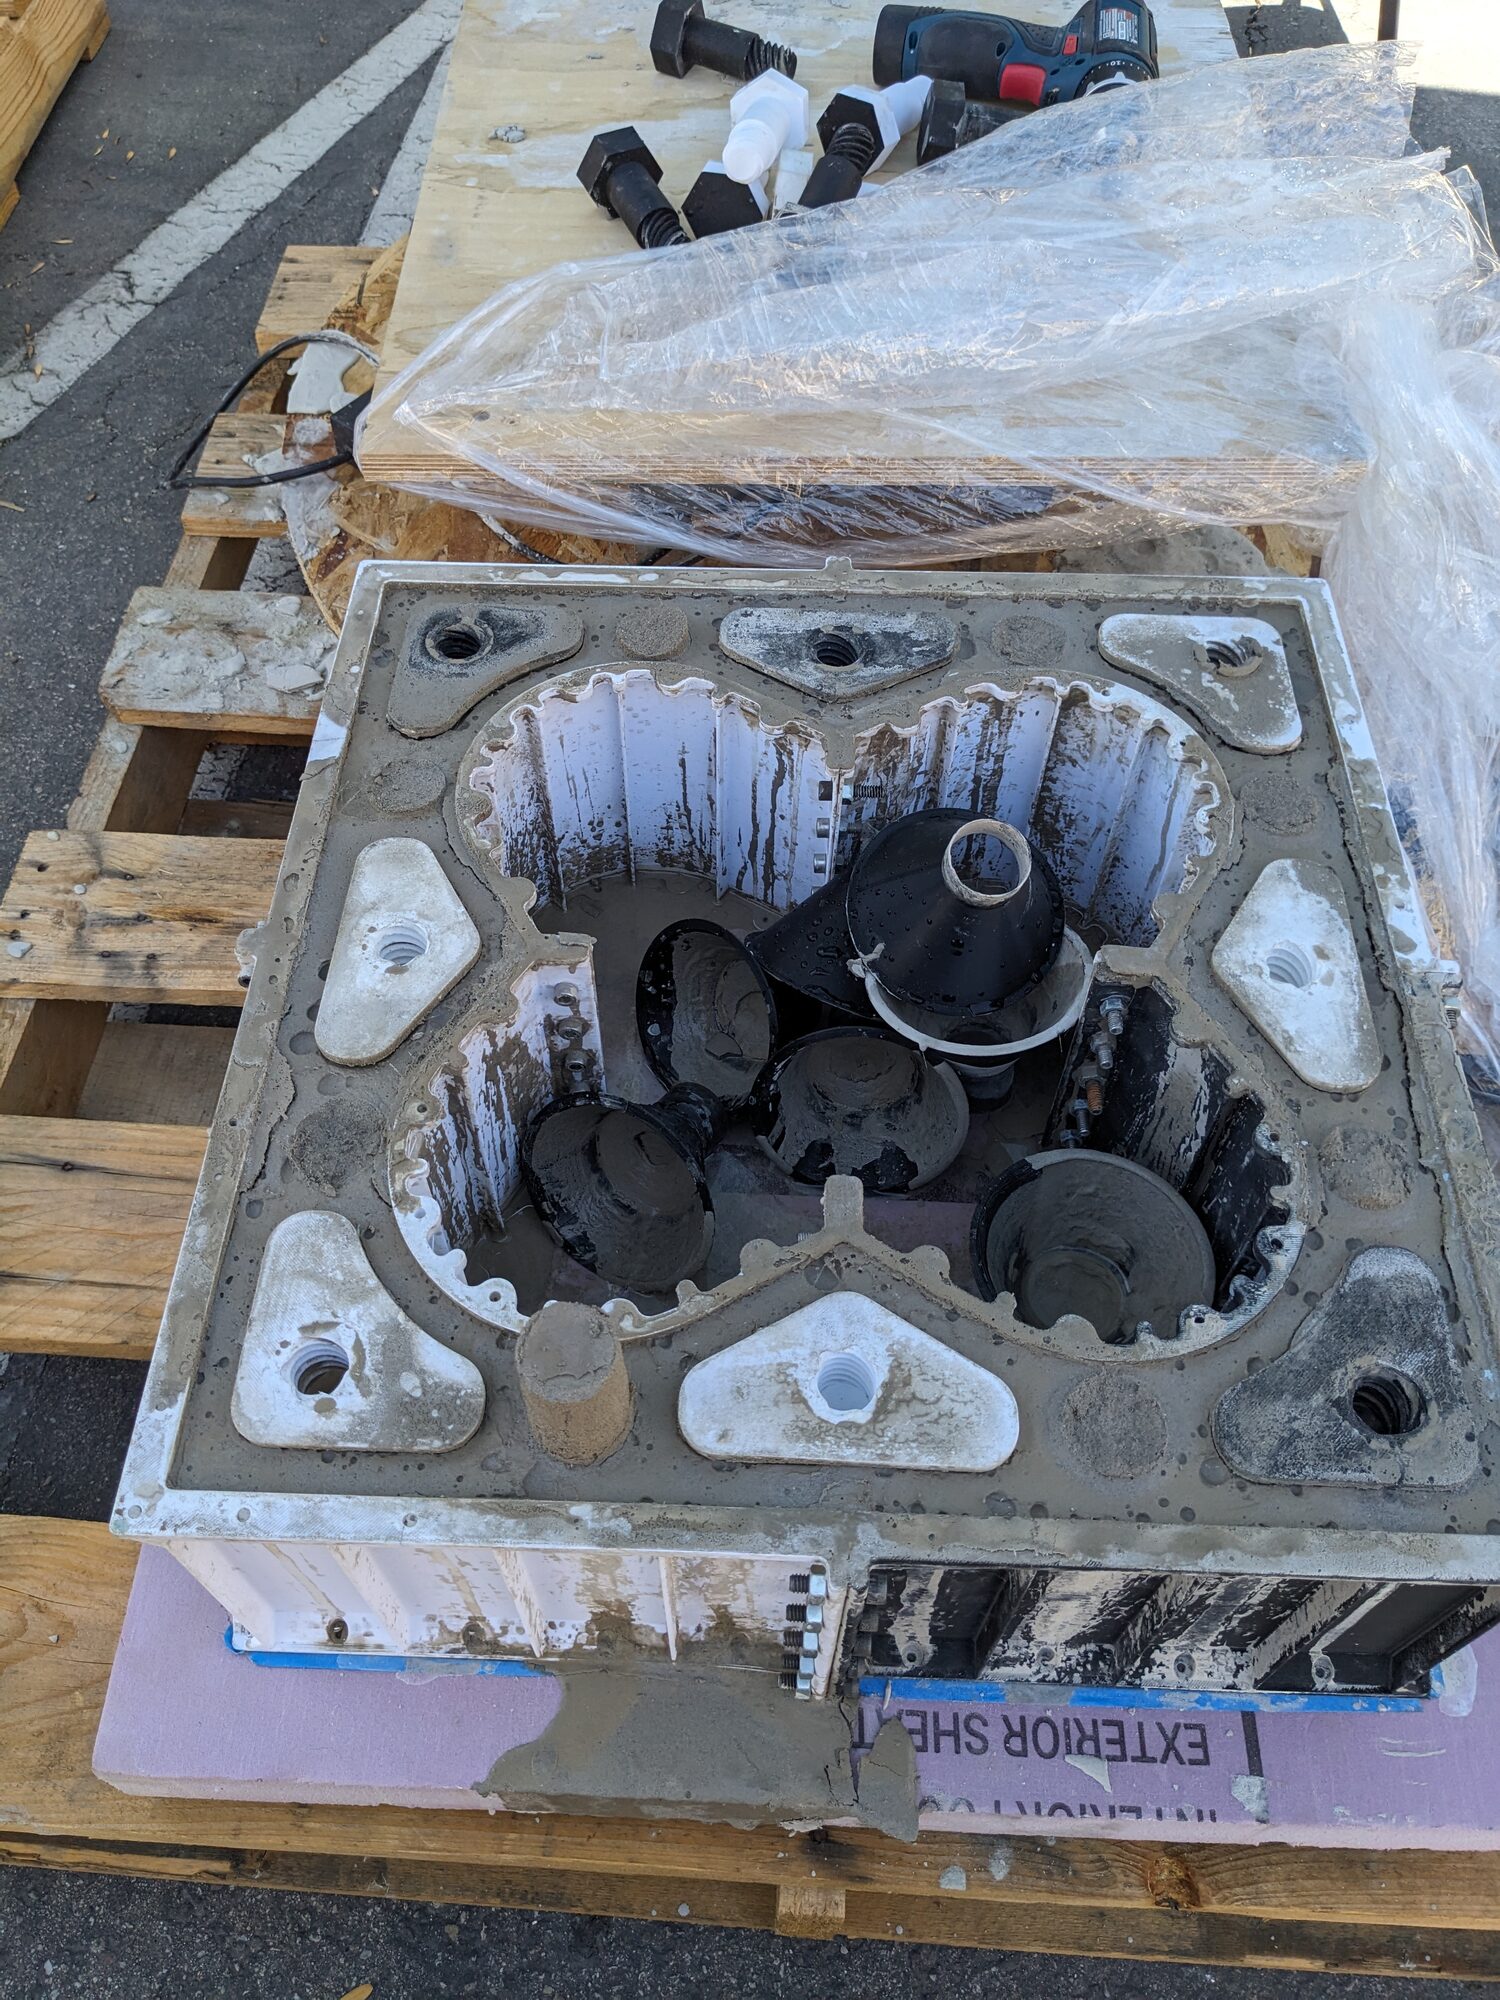
Still dressed. Formers and top plates not yet off.
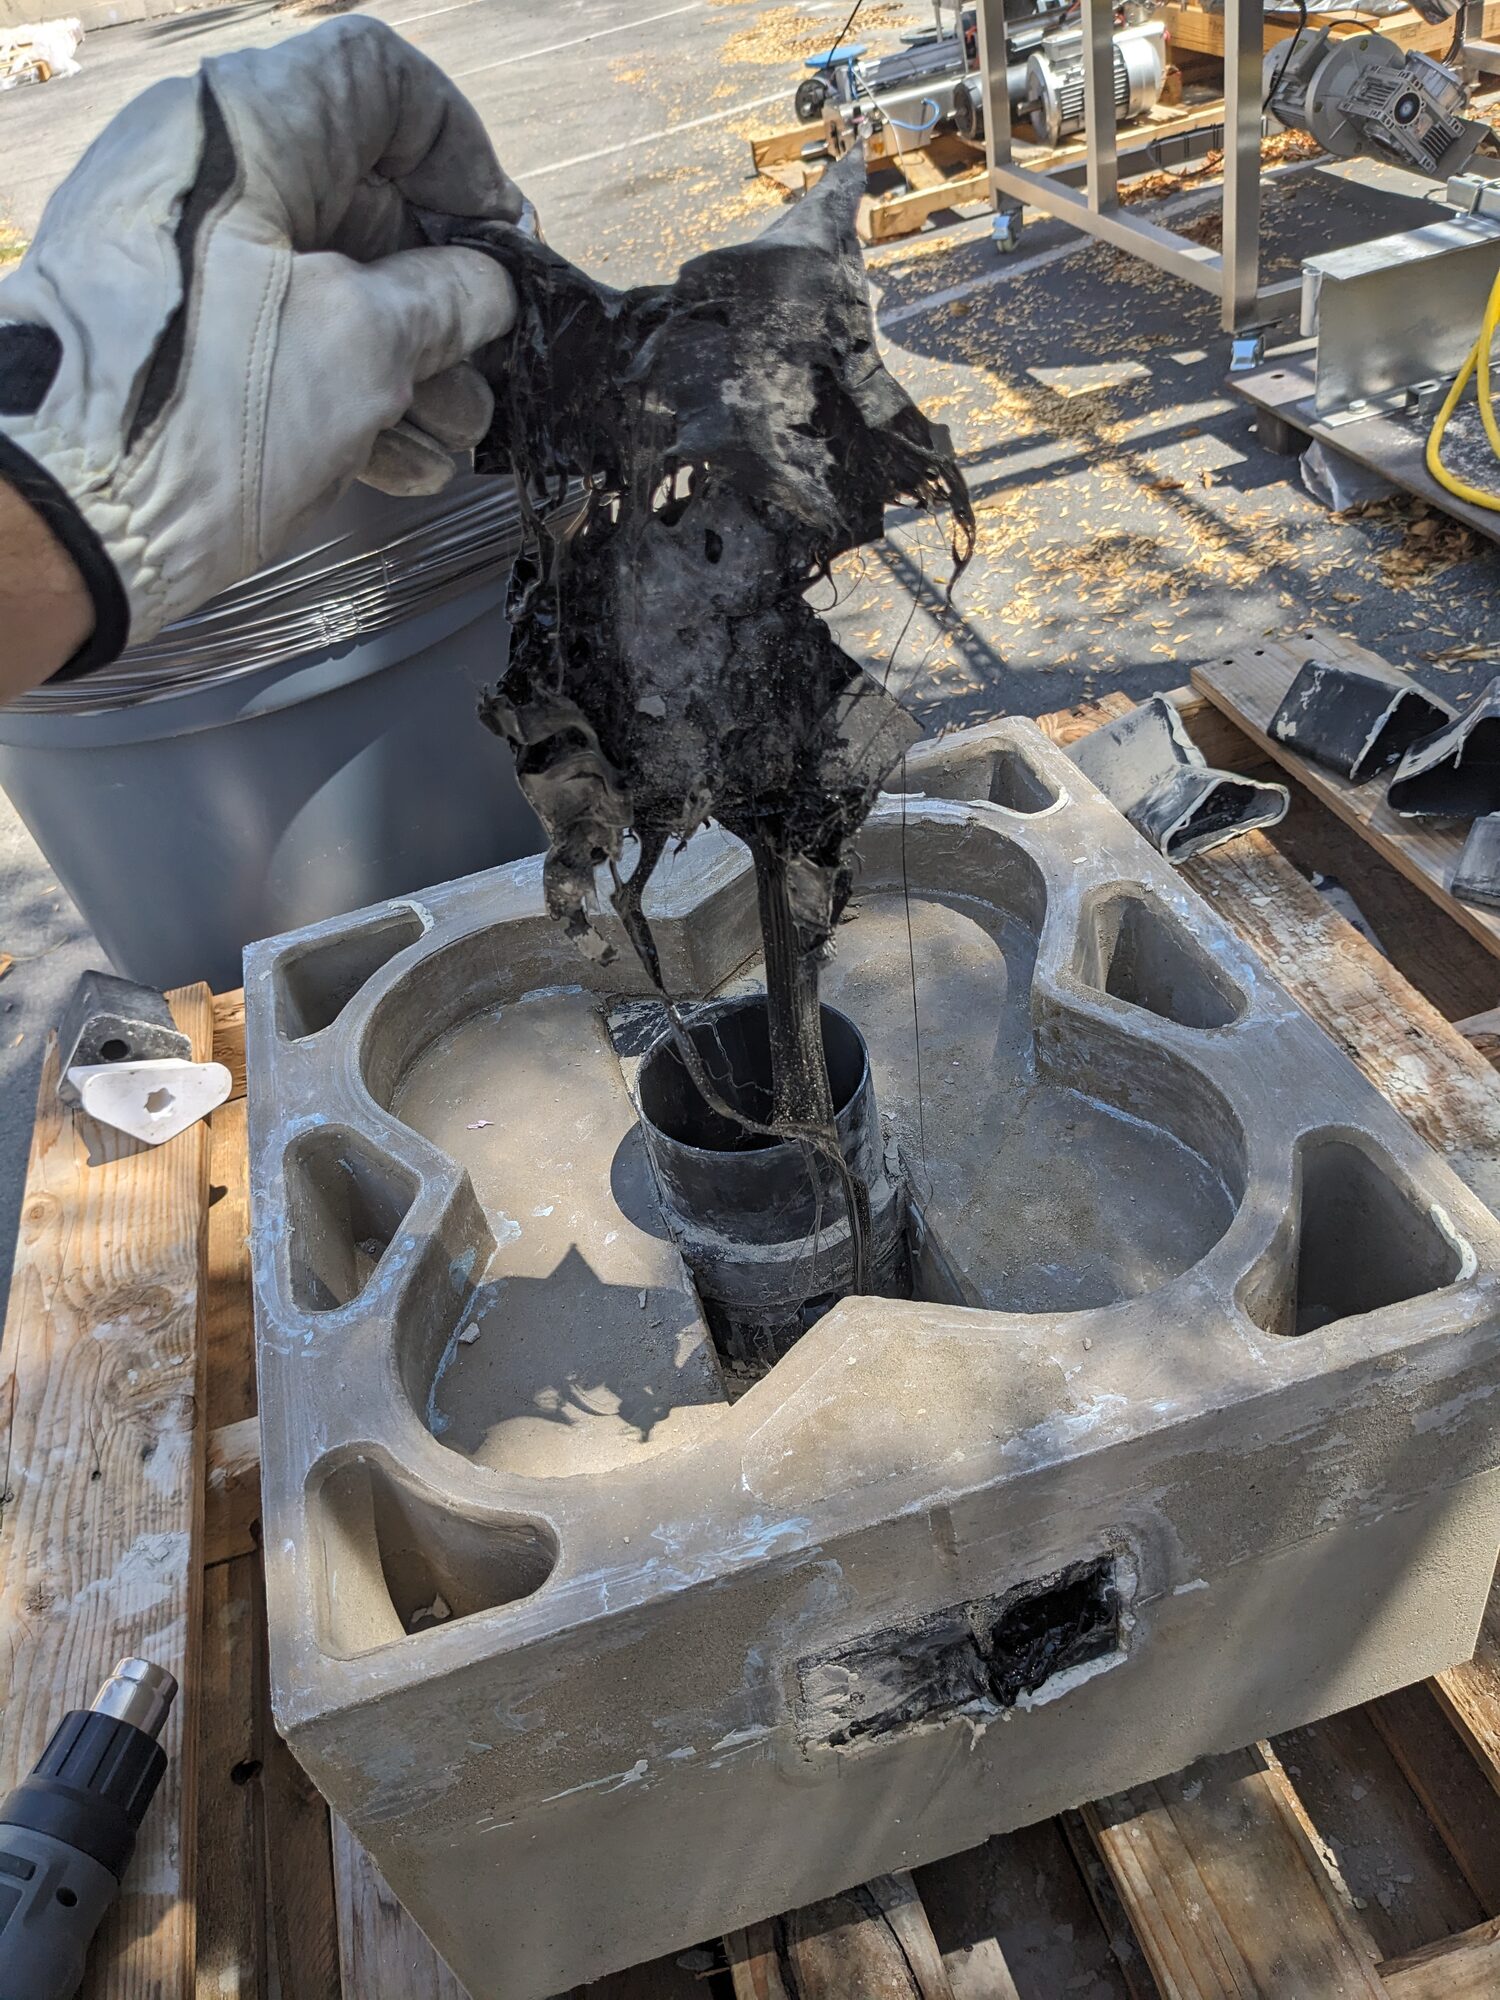
PLA, destructively decored. Heat gun just out of frame.
What actually solved it: disposable sleeves between the former and the casting, which worked especially well once thick mold release was applied. With this method all of the placing pin holes came out very clean.
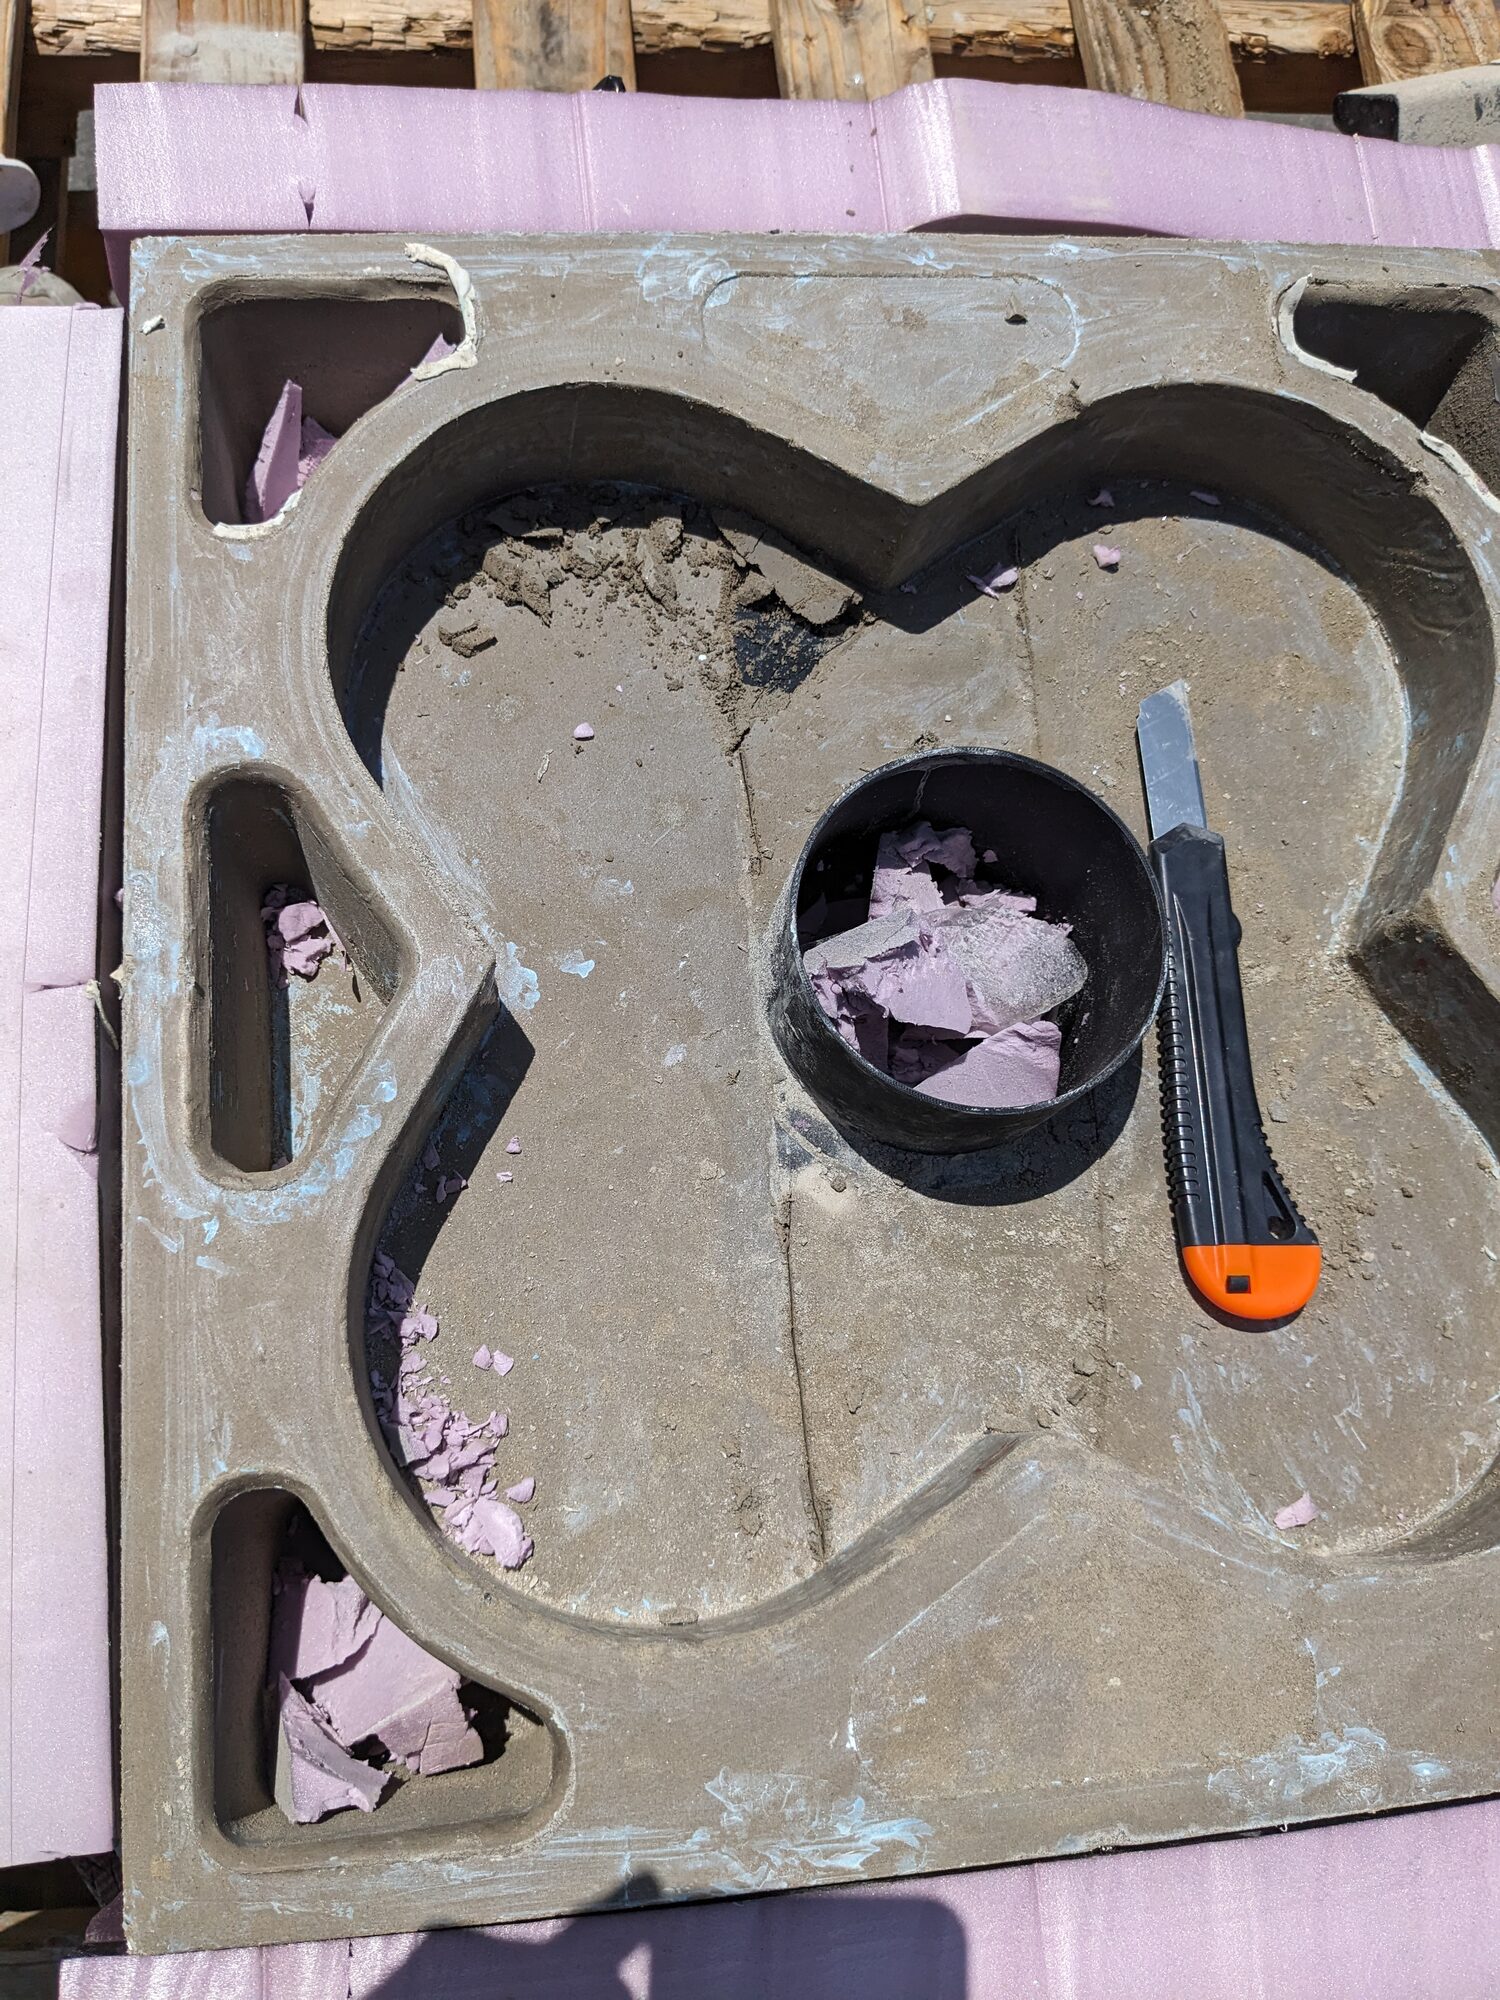
Knife work on the foam.
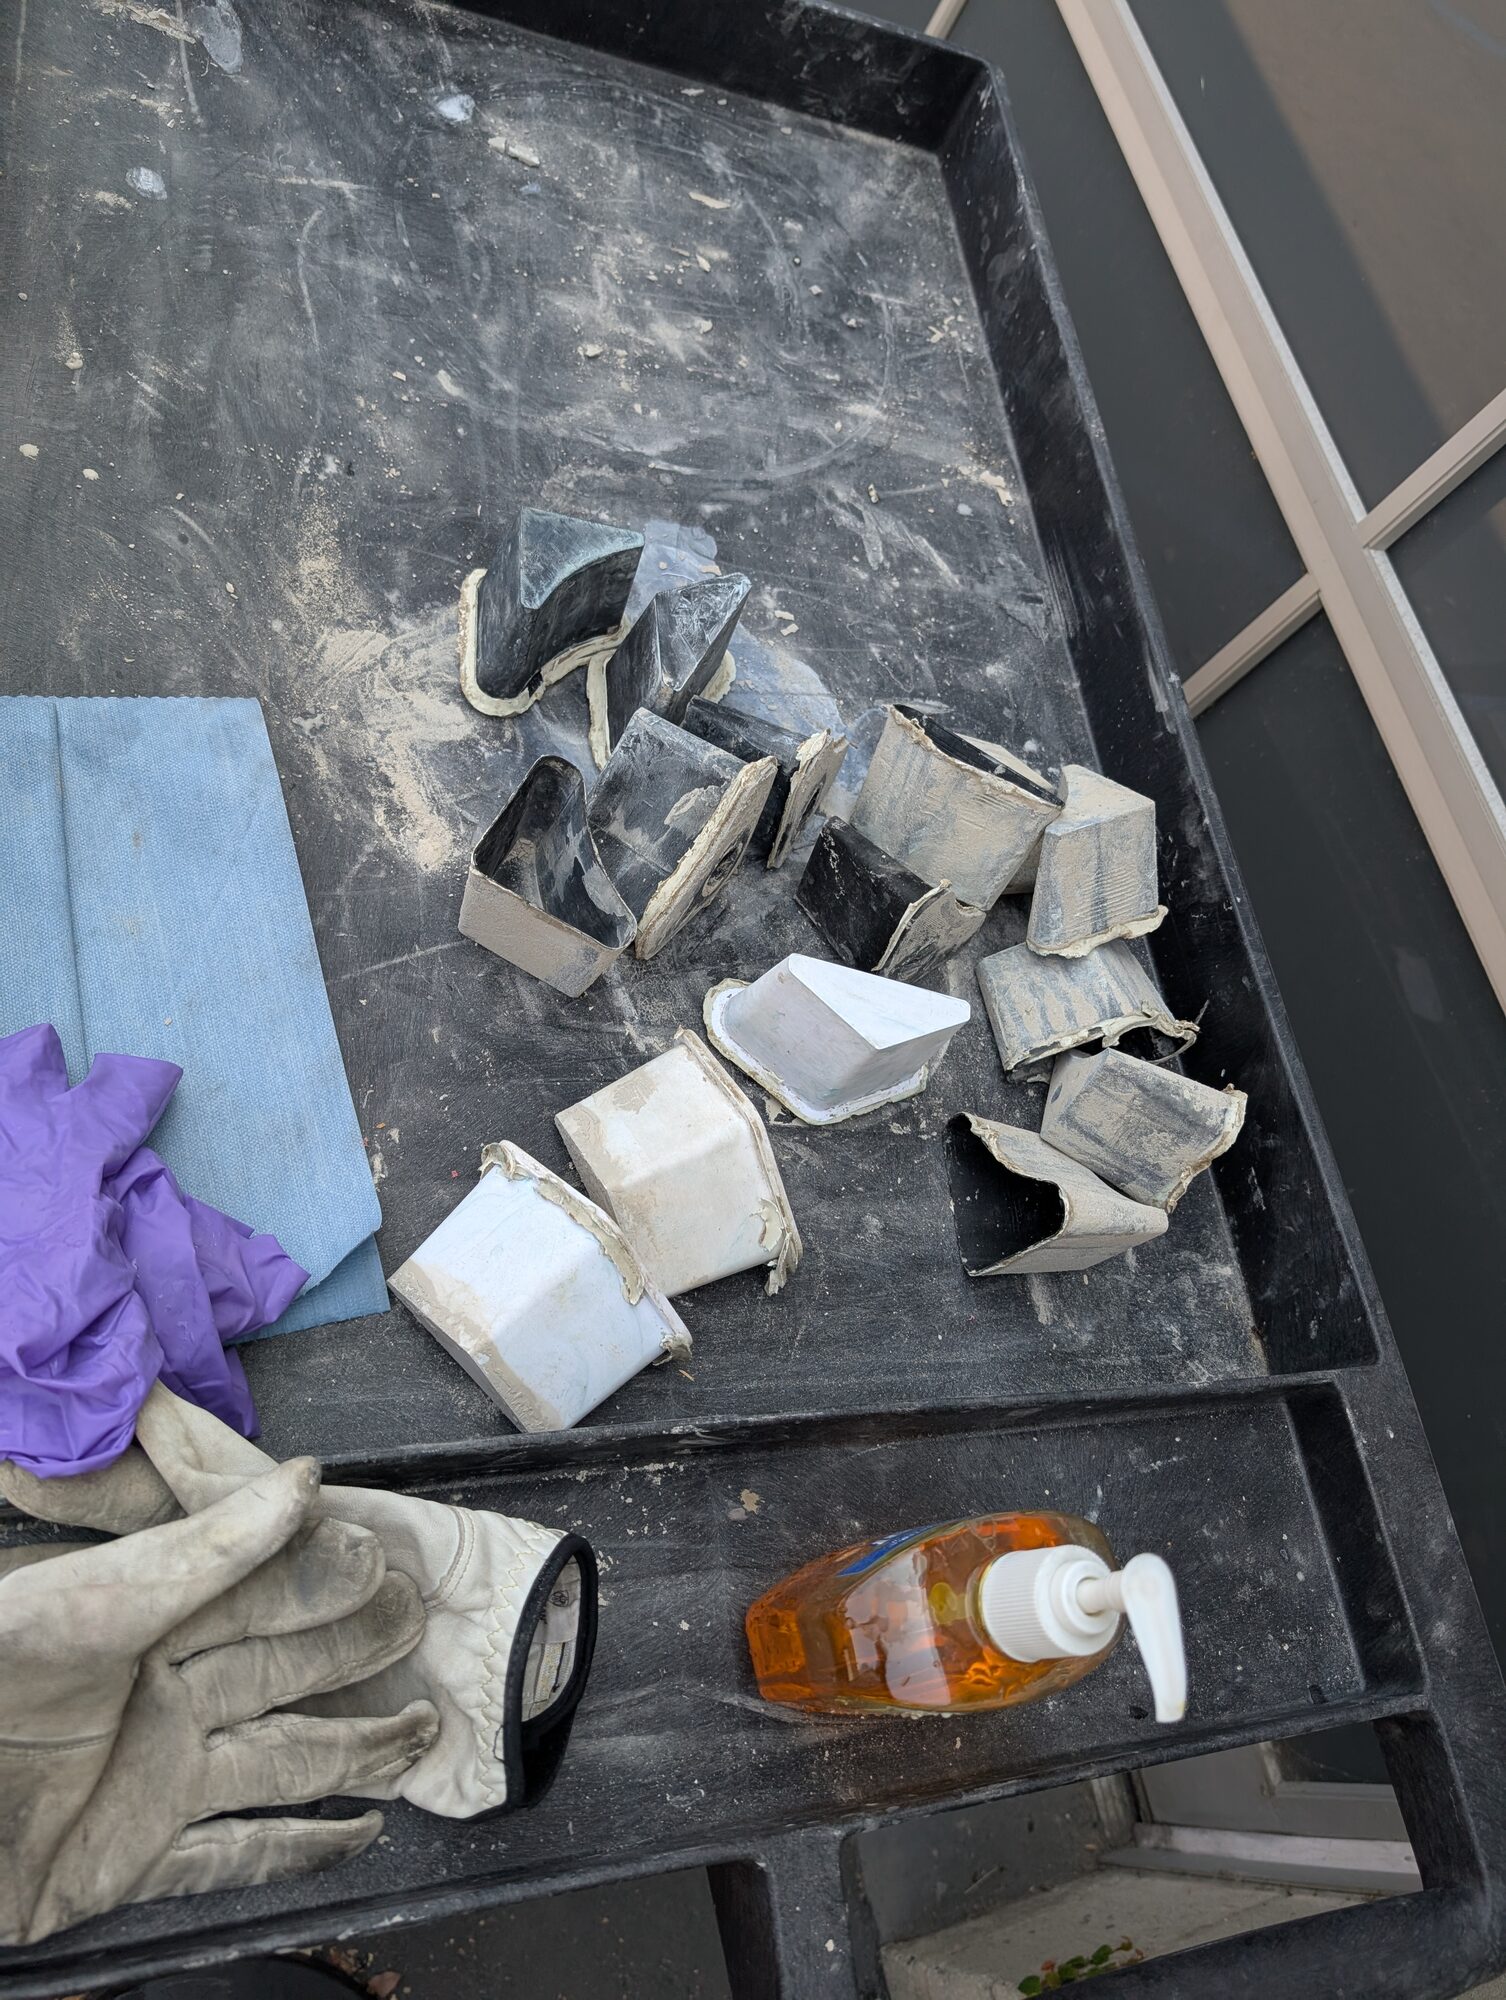
The sleeves, after.
Handling
Flipping a fragile 100 lb block by hand, on a Saturday, required some re-consideration. I had planned on rolling it over side on edge, but that could chip the corners. So, a portable gantry with a chain hoist did the lifting. Extra foam sheeting kept the sides protected. In the end it was a blessing to do it alone. It would have been faster but riskier to do with a helper. With a rolling sling the block suspended in the cradle could be gently rolled even tho rectangular, with side lift points used to reduce edge pressure. It looked funny. It worked well.
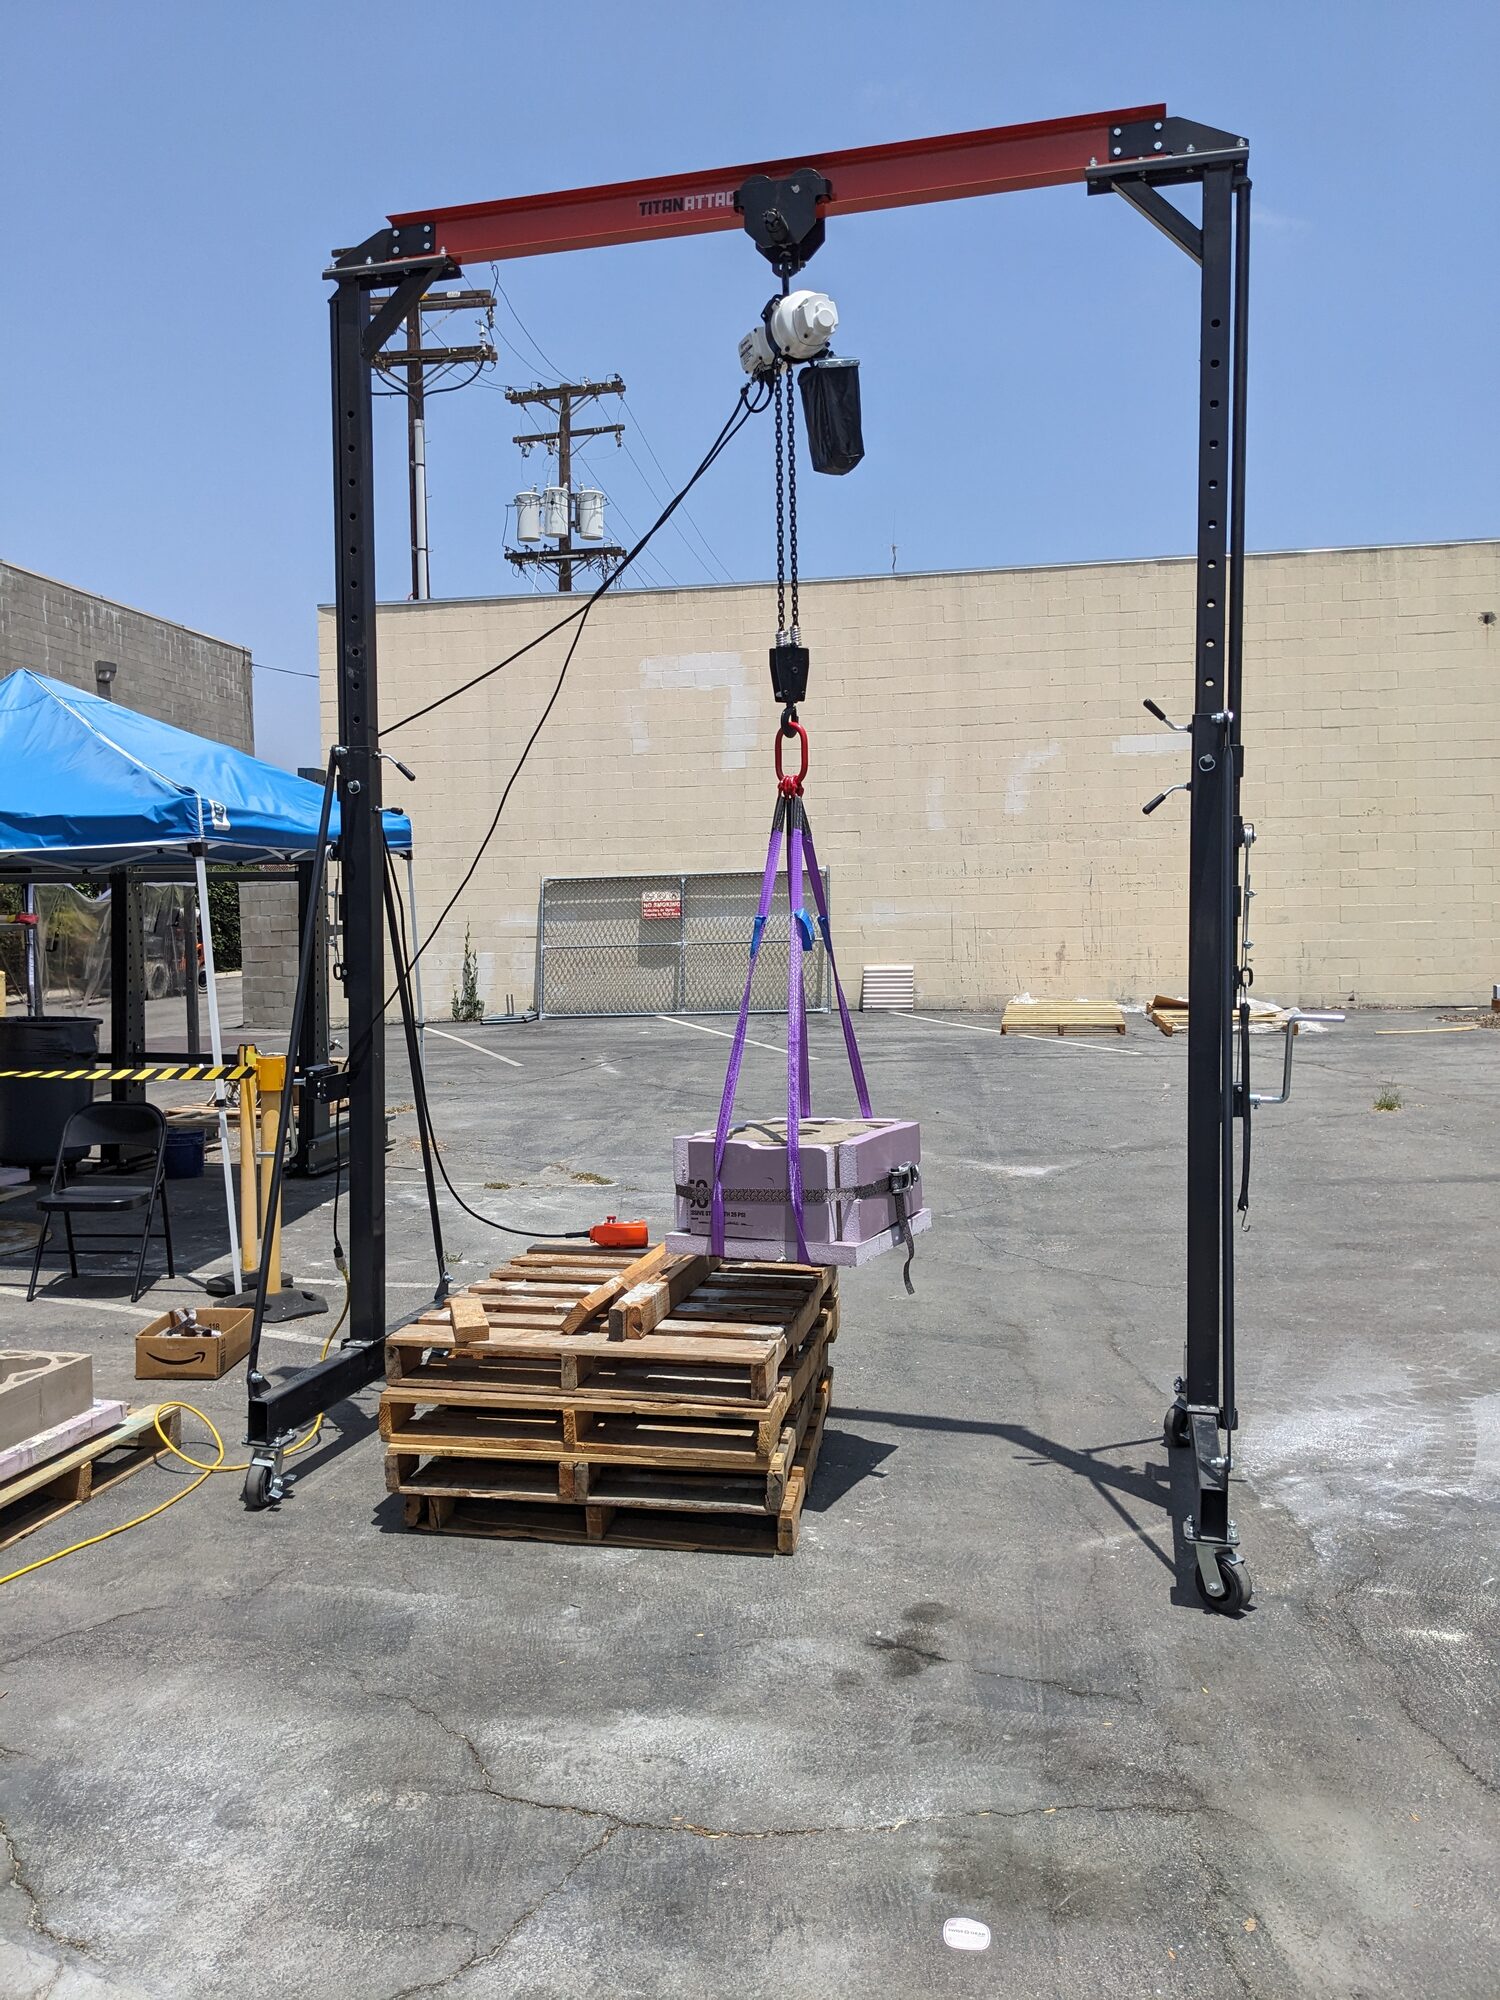
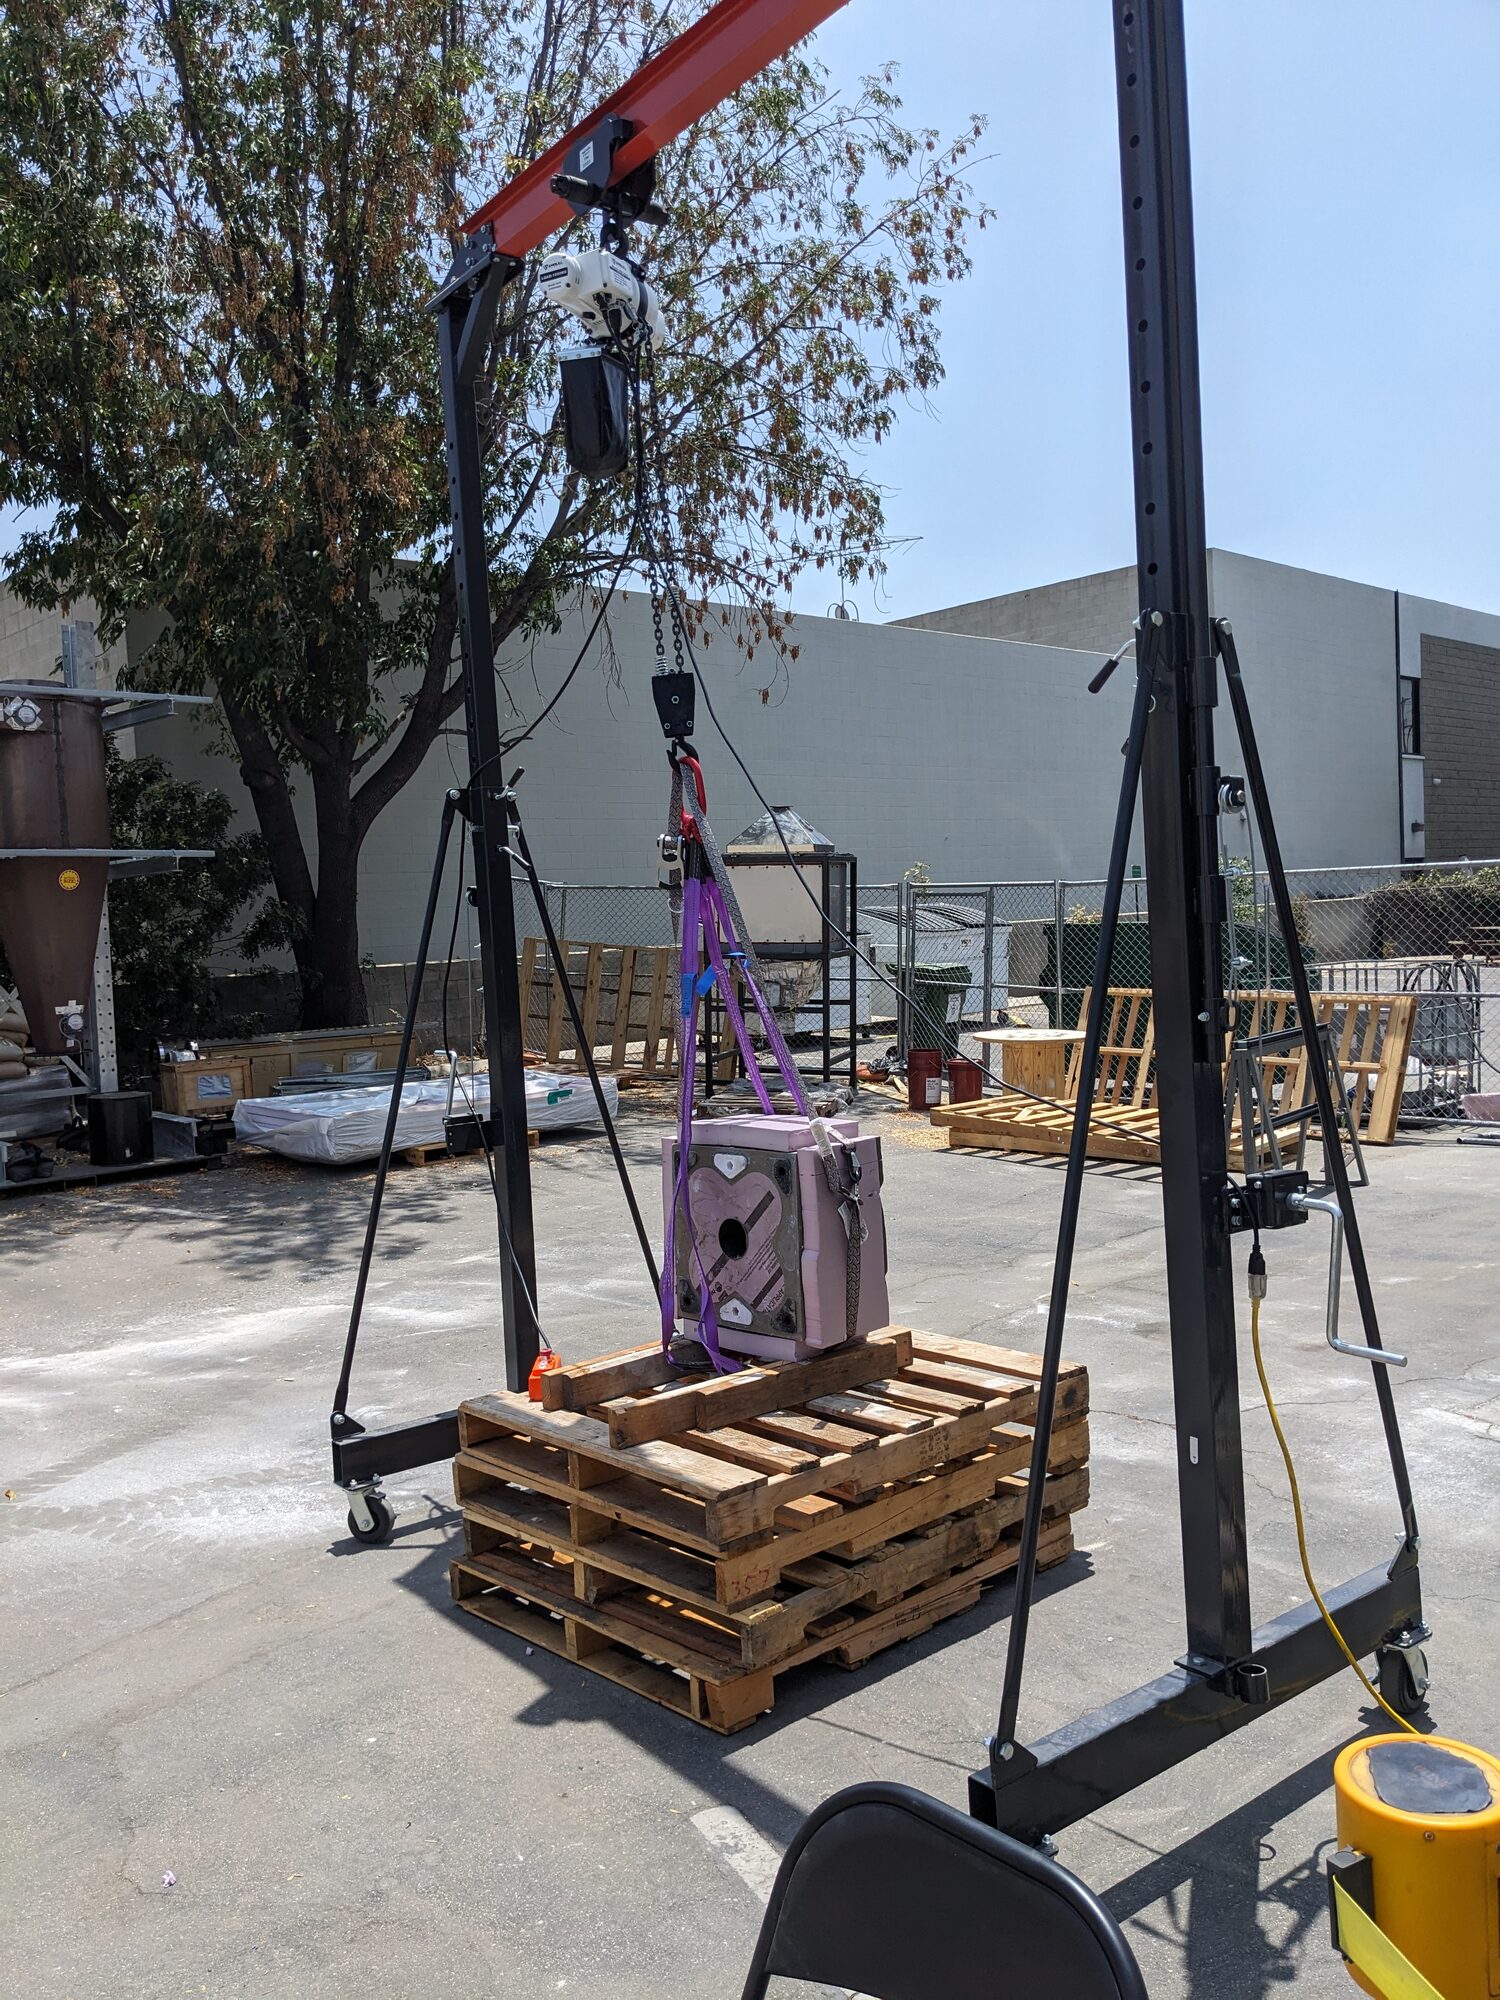
The flip, in two frames. Flat on the way up, on edge coming through.
I also designed and fabricated a bucket tip lift, which saved our backs.
Result
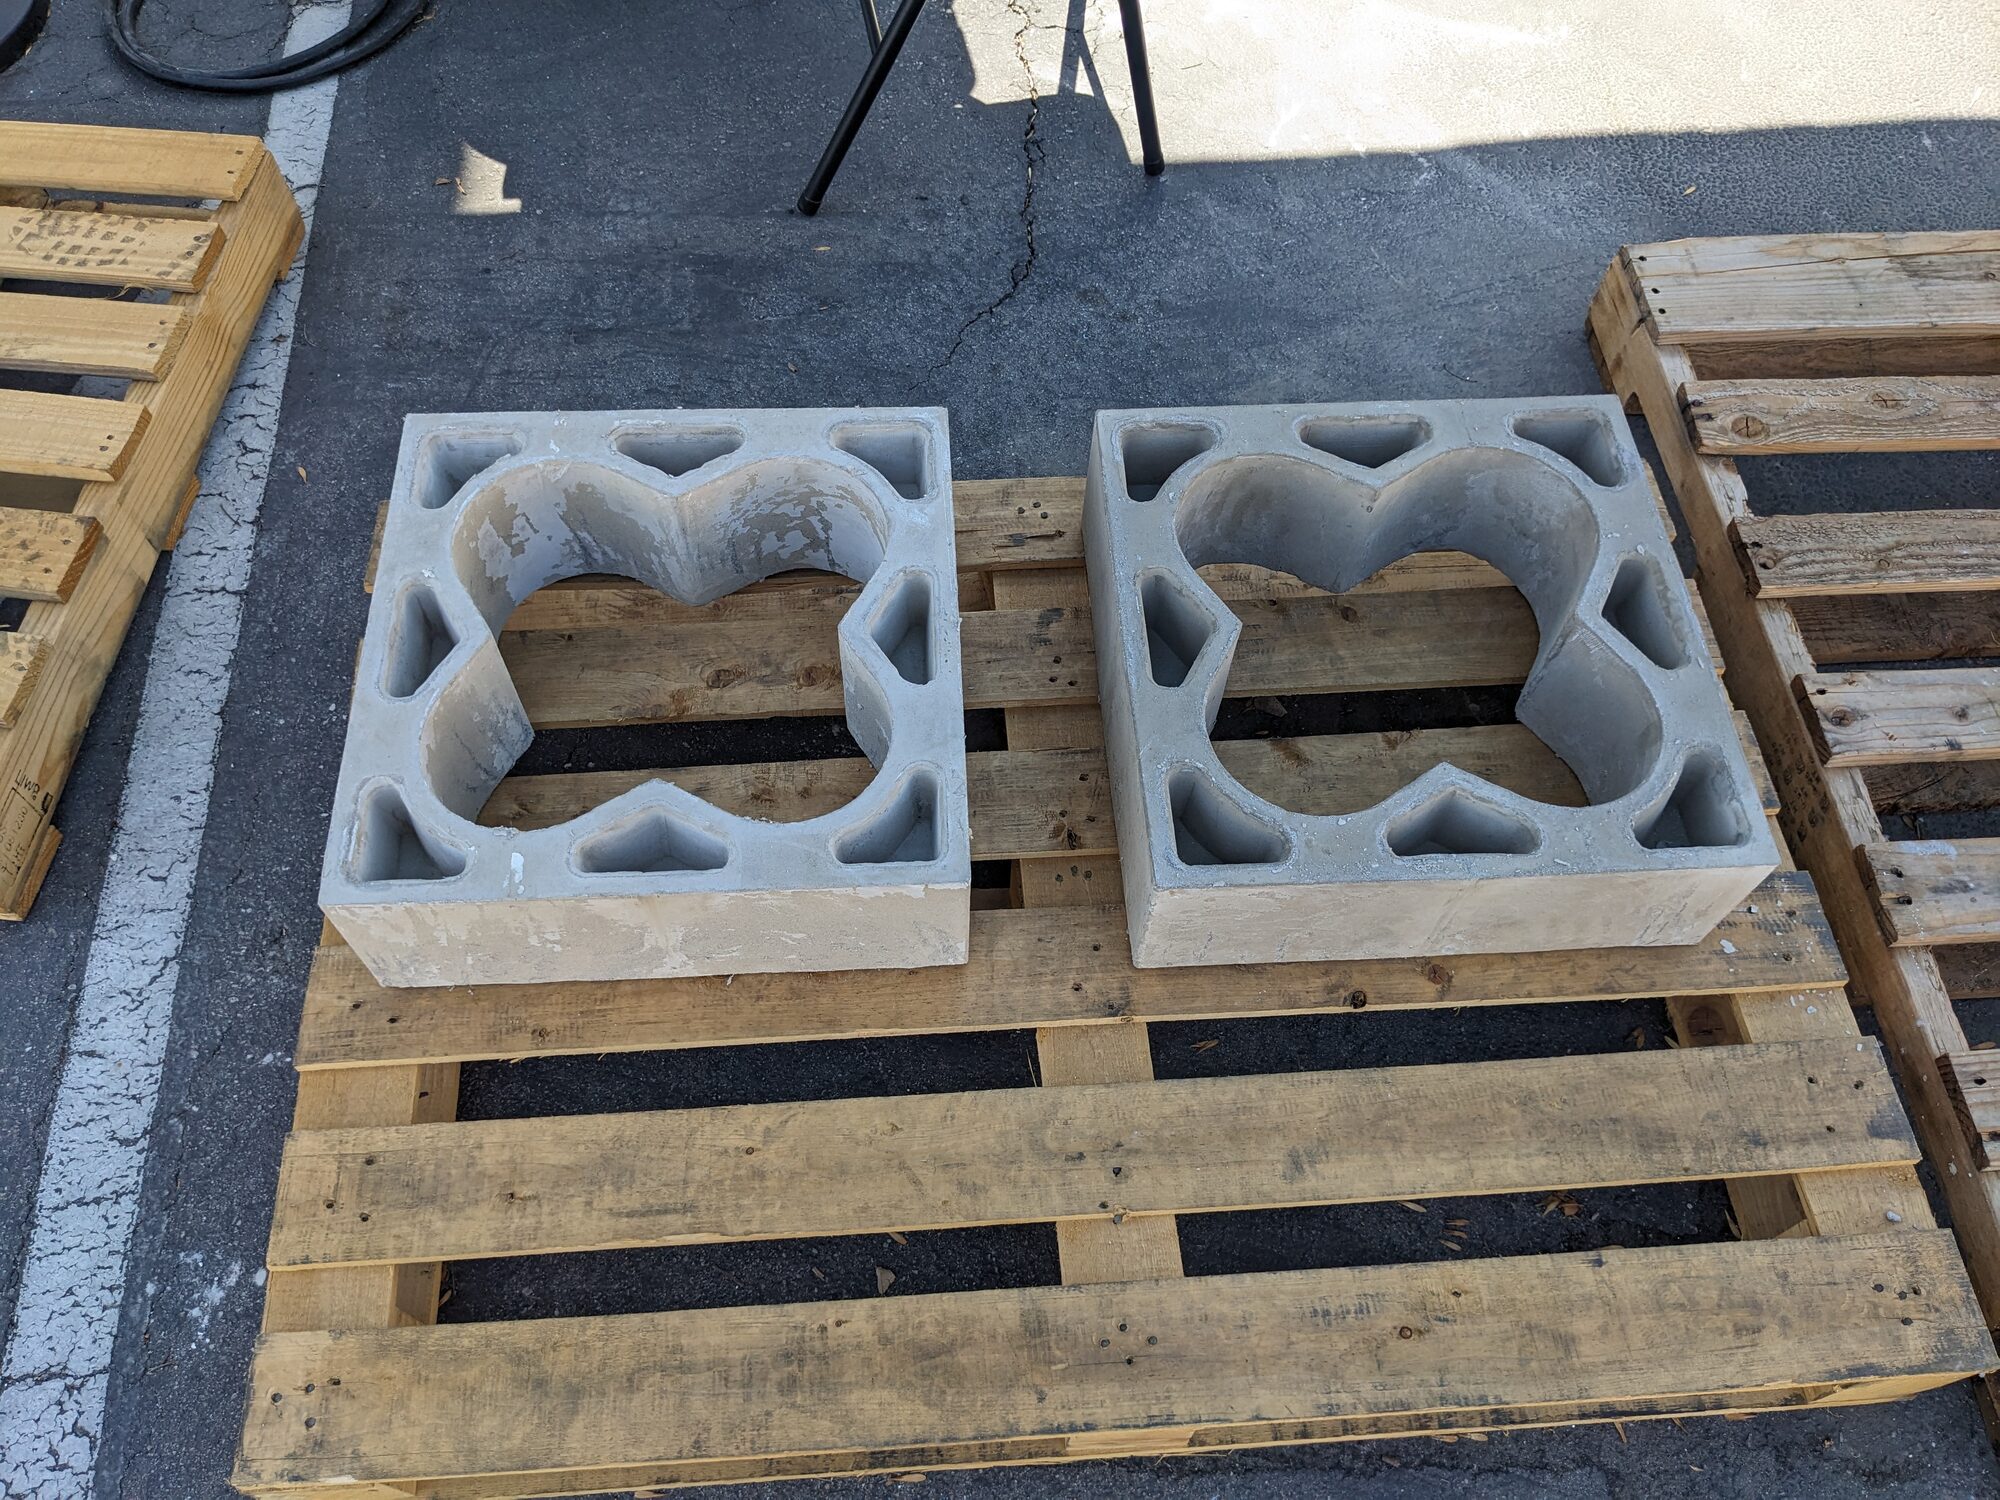
First two out.
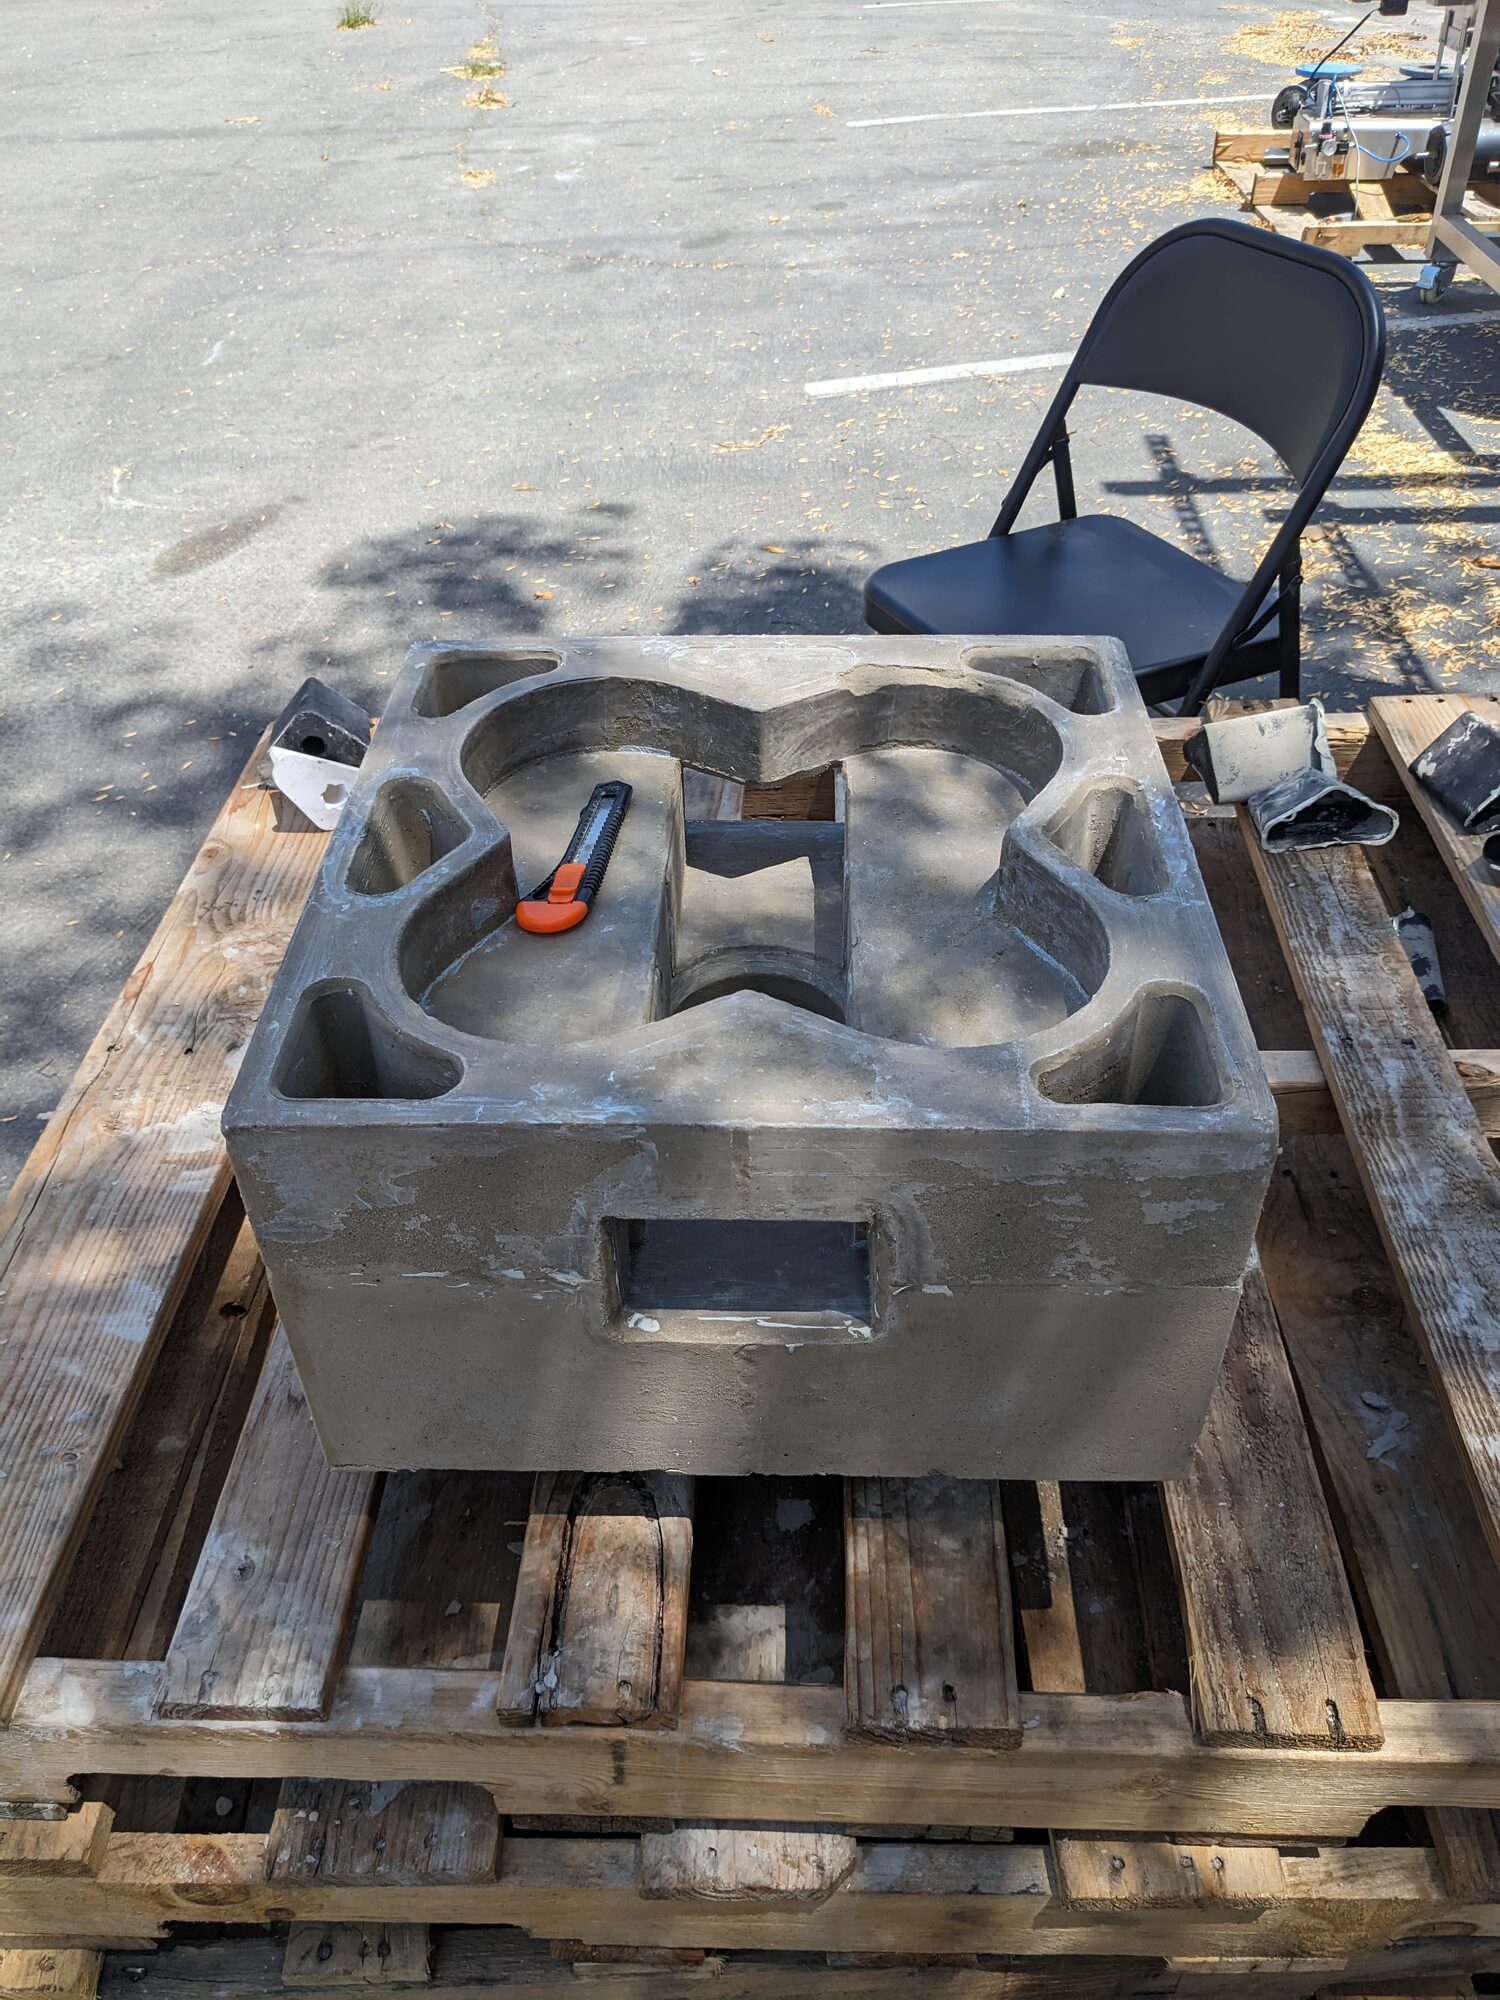
Cleaned up. Utility knife for scale.
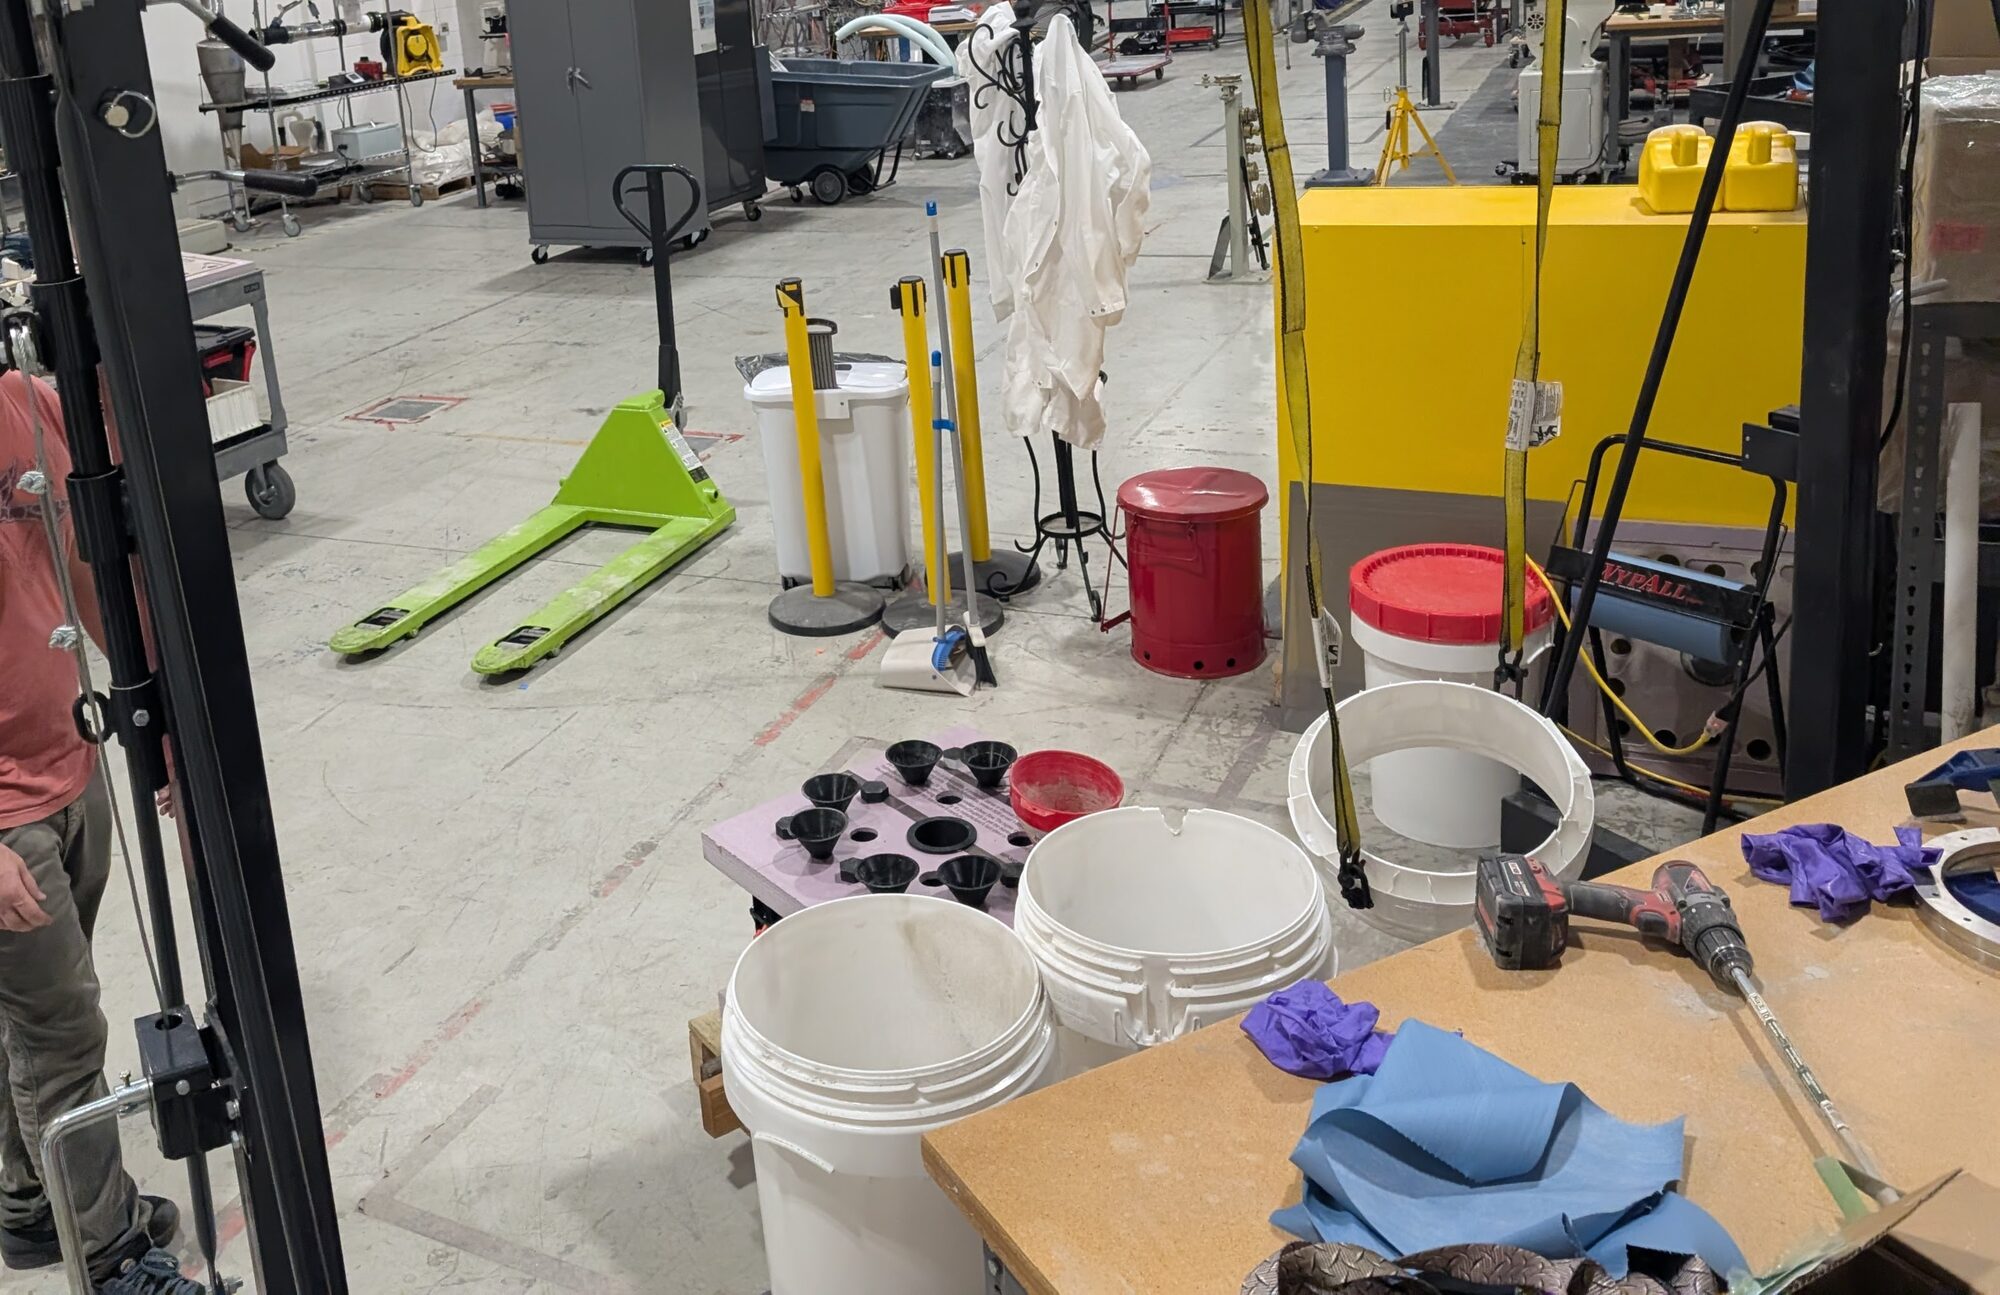
Staged for the next one.
What went wrong
For what could have gone wrong, little did. I made a mess casting the first block, shrugs. Move fast does have its costs.
- CNC routing XPS is very messy. Foam everywhere, static-charged, for days.
- Dawson's tapered alignment pins located well and demolded badly. The fix was sleeves and heavy mold release, only a minor redesign.
What went right
- Collaboration was synergetic, and much learning was had.
- The blocks held up through assembly and test of the calciner. Which is the only result that counts — everything before that is process.
- Disposable sleeves plus thick mold release turned demolding from a fight into a step.
- The rolling sling flipped the largest block without incident — the move most likely to have cost us a block.
Role
Dawson designed the blocks and the calciner. I worked out the production process: molds, casting, demolding, drying and handling — including the indoor vibe platform, the rolling sling and the bucket tip lift.
Notes
- Status: complete. Blocks went into the calciner and survived assembly and test.
- Timeline: mold build 27–30 May 2025, vibe platform 31 May, first pour 1 June, demolding 18–22 June, still pouring 26 June 2025.
- Materials: XPS foam molds, 3D printed formers in PLA and ABS, mullite / SiC / calcium aluminate castable.